Halloween No-Bake Cherry Cheesecake

Want an amazing Halloween dessert? Make a creepy and memorable Halloween No-Bake Cherry Cheesecake for Halloween parties and “just because” Halloween fun. This spectacularly spooky centerpiece dessert will get the “oohs” and the “ewws” from both adults and kids!
This post contains a few affiliate links. If you purchase through one of these links (thank you!), I will make a small commission at no cost to you, which helps support my content creation.
Why You Will Love This Halloween No-Bake Cherry Cheesecake 👀
Ingredients Needed for Creepy Eyeballs No-Bake Cherry Cheesecake
Ingredient quantities for this Halloween no-bake cherry cheesecake is located in the recipe card at the end of the post.
- Pre-made graham cracker crust OR
- Graham cracker crumbs
- Butter
- Brown sugar or granulated sugar
- Heavy whipping cream
- Cream cheese
- Powdered sugar
- Vanilla extract
- Sour cream
- Cherry pie filling
- Candy eyeballs – I love this set because it comes with three different sizes, so you can play around with what you think looks best.
How To Make Halloween No-Bake Cherry Cheesecake
The steps below are just a quick overview of how to make this creepy no-bake cherry cheesecake. The full process in detail is located in the recipe card at the end of the post.
First, let’s start with the crust. For these photos, I went the easy route with a store-bought graham cracker crust, but if you’d like to whip up your own, I’ve included homemade instructions in the recipe card below.

Onto the filling…
Begin by whipping your heavy cream until it forms stiff peaks, then place it into the fridge to chill. (Some recipes skip this and mix the cream straight into the cream cheese, but giving it that extra rest in the fridge makes the resulting cheesecake lighter and fluffier.)
In a separate bowl, beat together the cream cheese and powdered sugar on medium speed until smooth, scraping down the sides as needed.
Add the vanilla extract and sour cream, and blend again until silky smooth.
Take the chilled whipped cream out of the fridge and gently fold it into the cream cheese mixture with a silicone spatula. (Be careful not to overmix; you don’t want to scare away all that airy fluff you just created! 👻)
Now it’s time to fill the crust. Pour the cheesecake mixture into the crust, smoothing it out evenly.
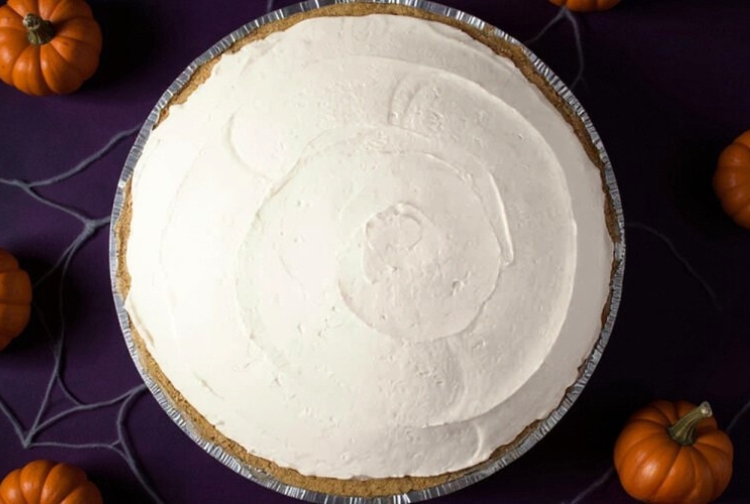
Cover it up and let it chill in the fridge for at least 8–12 hours. Overnight works even better, giving your cheesecake time to set its spooky spell.
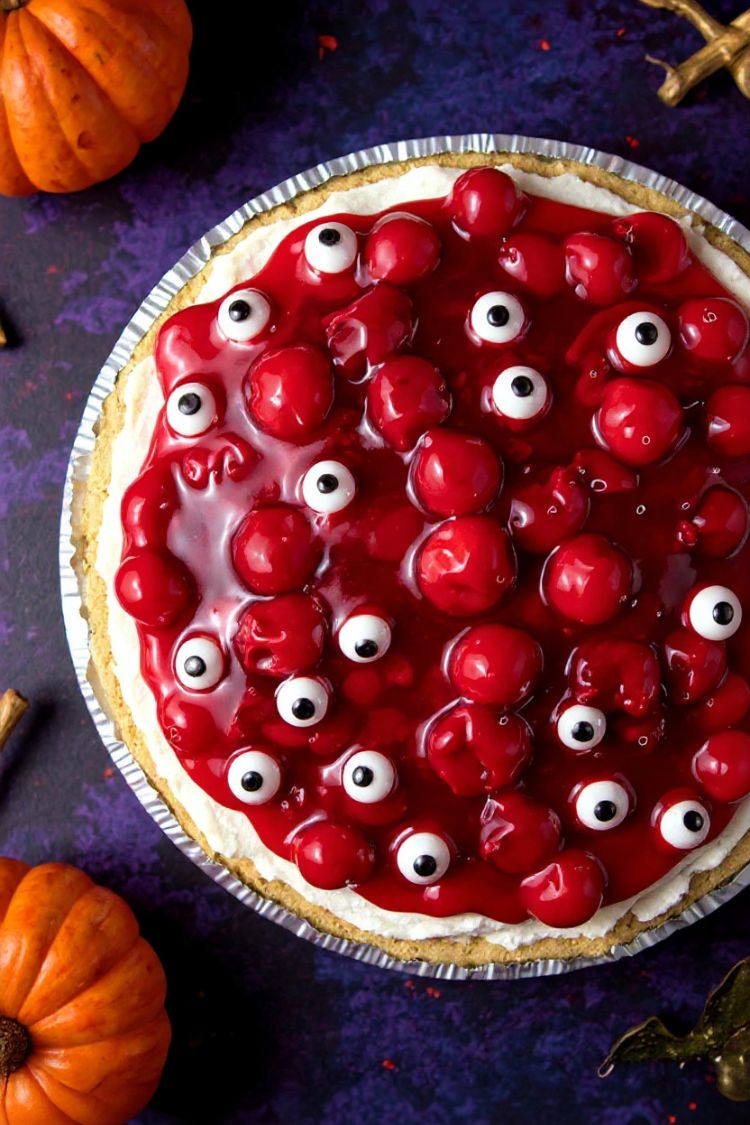
🎃 About two hours before serving: Spread cherry pie filling over the top. Put in the fridge until it’s ready to slice and serve at your Halloween gathering.
🎃 Immediately before serving: Use the candy eyes to create a spooky look on the whole cheesecake or on individual slices, depending on your preferences. You can either loosely place them on top, or pop them into the cherries, just like real eyeballs. (Eww, right?!)

Cut pieces with a knife. To get cleaner cuts, microwave a jar of water and place the knife into the water and wipe the water off between each cut. The warmed knife will give you cleaner cuts.
I hope you and your guests love this spooky-fun dessert!
More Halloween Dessert Recipes
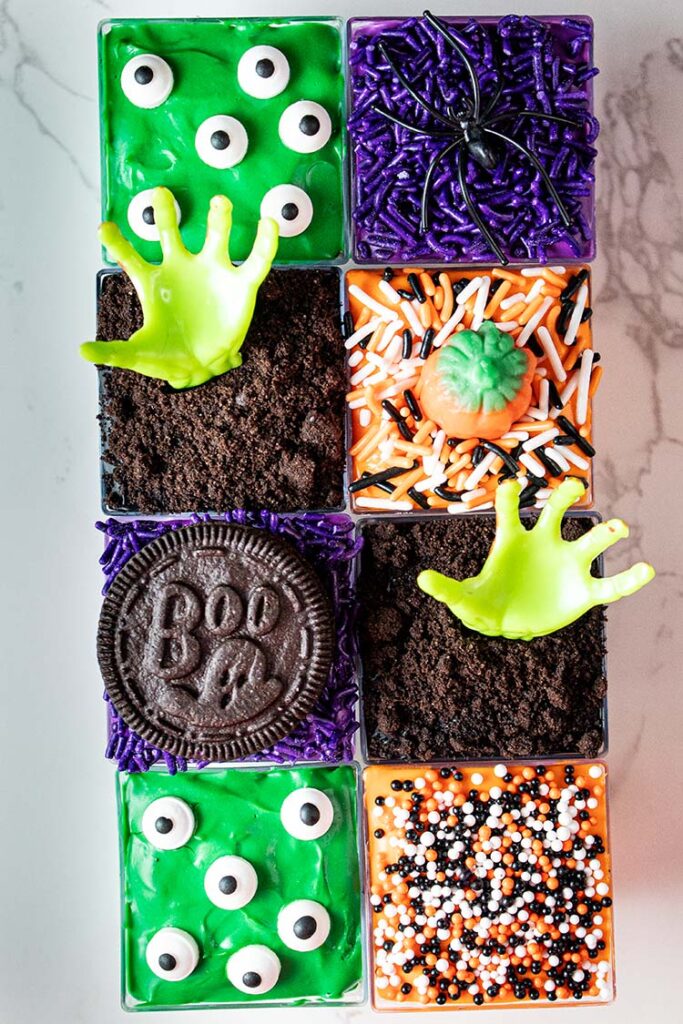
- Hosting a Halloween bash? These cute and spooky Halloween cheesecake cups are a must-have for your party spread!
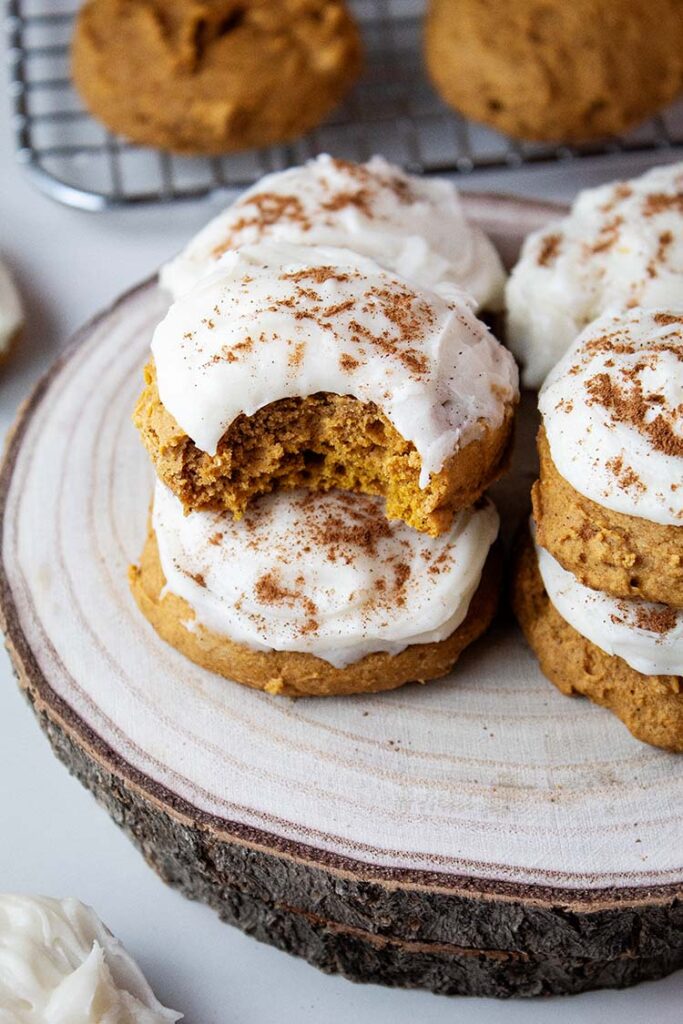
- You can’t go wrong with pumpkin cookies with icing. They’ll be the first to disappear at any event or party, guaranteed!
- Bring the wow factor with this bright orange Halloween cheesecake brownie fluff. It’s a total party hit!
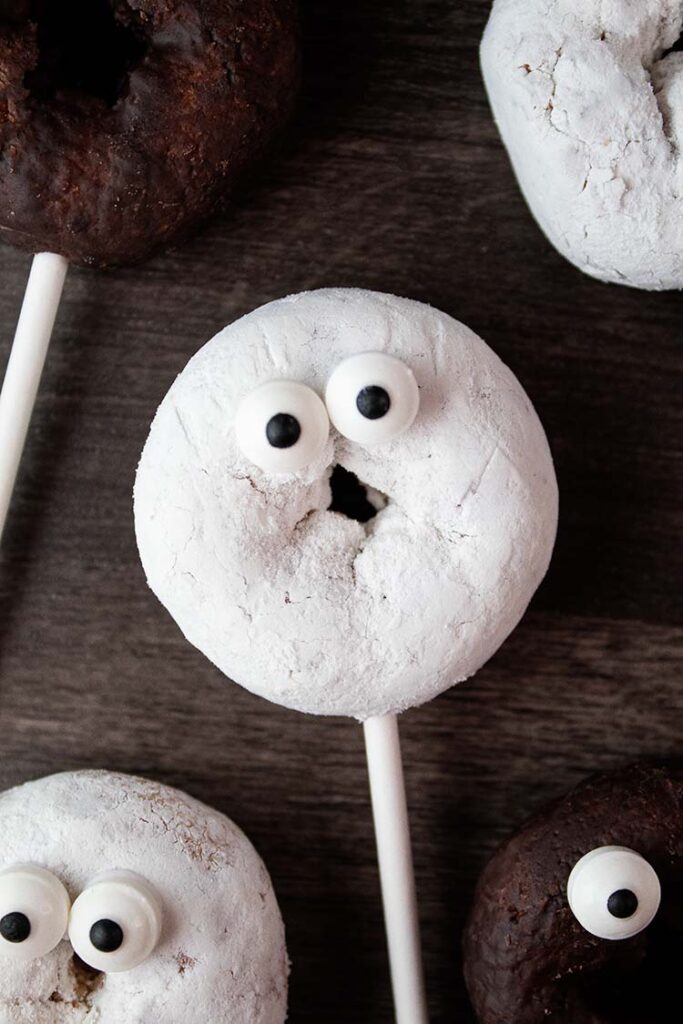
- These Halloween ghost donuts are adorable, delicious, and guaranteed to please any crowd. 🍩
- Serve up some spooky vibes with Halloween Oreo cheesecake fluff in a black cauldron, making it an instant party favorite!
- Want a festive treat? These Halloween candy corn cheesecake fluff cups are perfect for your party table!
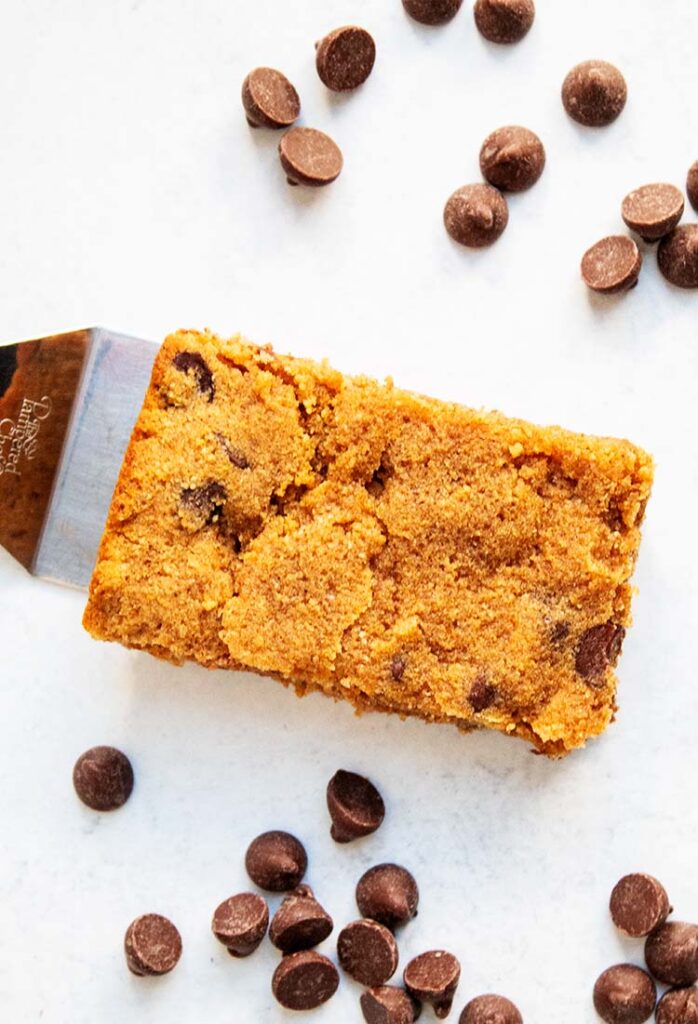
- Take these pumpkin bars with cream cheese to your Halloween party or football game, and watch them disappear! 🏈
- Love pumpkin? These pumpkin chocolate chip cookies are fall’s ultimate flavor combo. 🍪
- Need something quick? Try this 2-ingredient pumpkin muffins recipe. It is simple, tasty, and perfect for any gathering!


How to Store Your Creepy No-Bake Cherry Cheesecake in the Refrigerator
To store your no-bake cherry cheesecake in the refrigerator, make sure it’s covered tightly with plastic wrap or transferred to an airtight container to keep it fresh. Place it on a flat surface in the fridge to avoid any accidental spills or smudging of those perfectly creepy cherry toppings. Enjoy within 3-5 days for the best taste and texture!
Remember, don’t freak out when you open the refrigerator and all those creepy eyes are staring back at you!
How to Store Your Creepy No-Bake Cherry Cheesecake in the Freezer
If you want to freeze your spooky cheesecake creation, wrap it tightly in plastic wrap and then in a layer of aluminum foil to prevent freezer burn. For extra protection, place the wrapped cheesecake in a freezer-safe container before storing it. When you’re ready to indulge, simply thaw it in the refrigerator overnight and enjoy!
And, again, remember those eyes will be staring back at you, except they will have some frost on them!

More Easy Halloween Desserts
These desserts aren’t specifically Halloween-themed, but
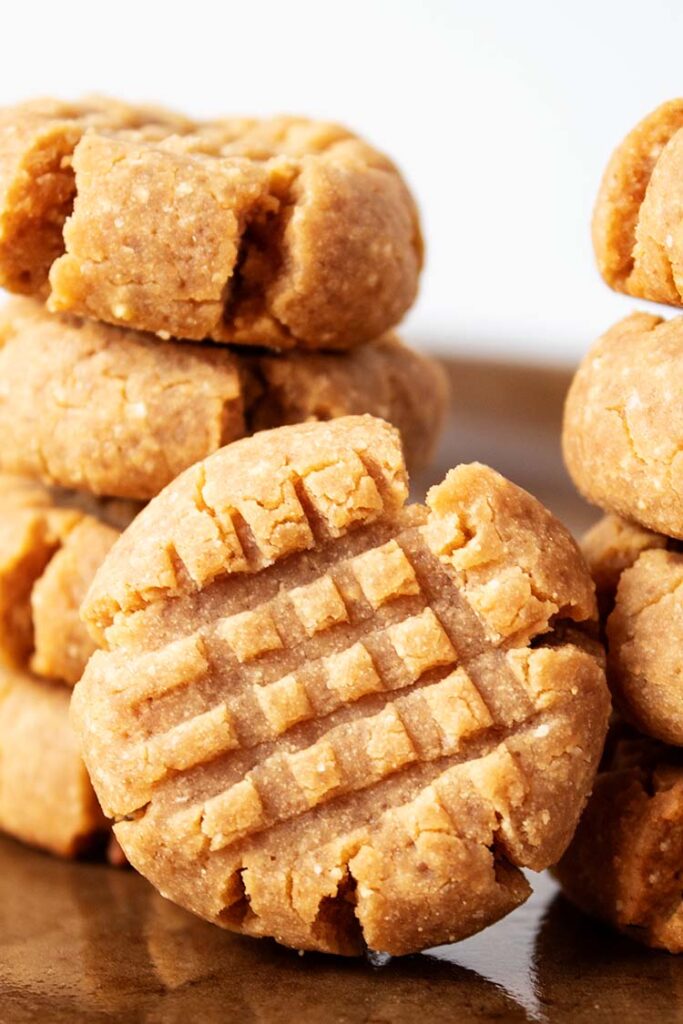
- Craving a crowd-pleaser? These peanut butter cookies are guaranteed to disappear faster than you can say “pass the plate!”
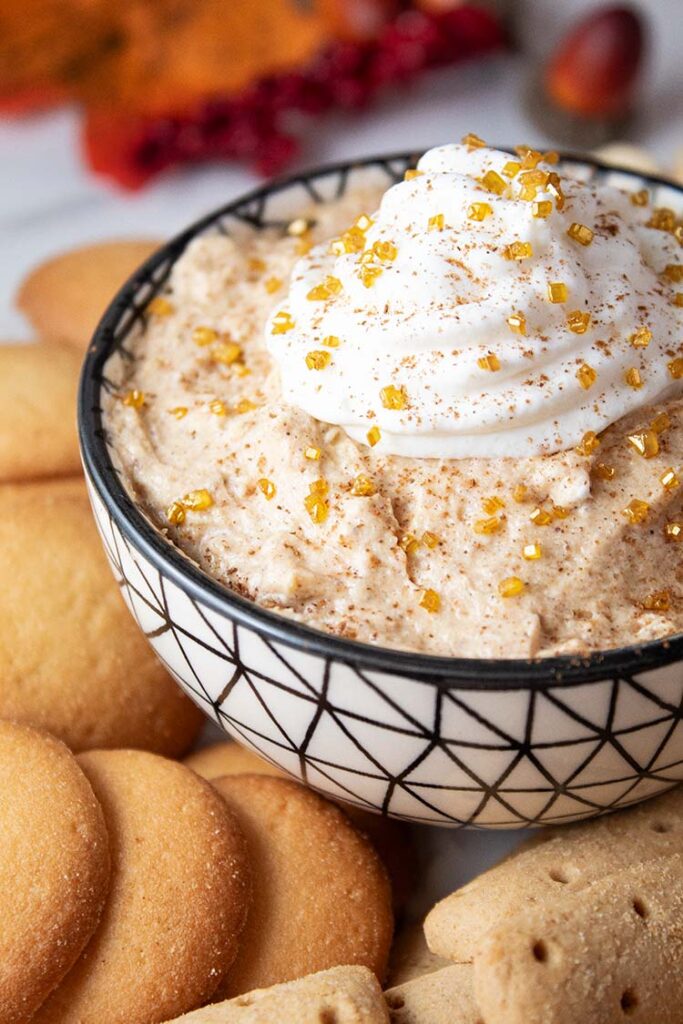
- Warning: Once your family tries this pumpkin fluff dip, it’ll become a must-have every fall!
- Nothing beats a classic like homemade chocolate chip cookies. Unless it’s their fudgy sibling, double chocolate cookies.
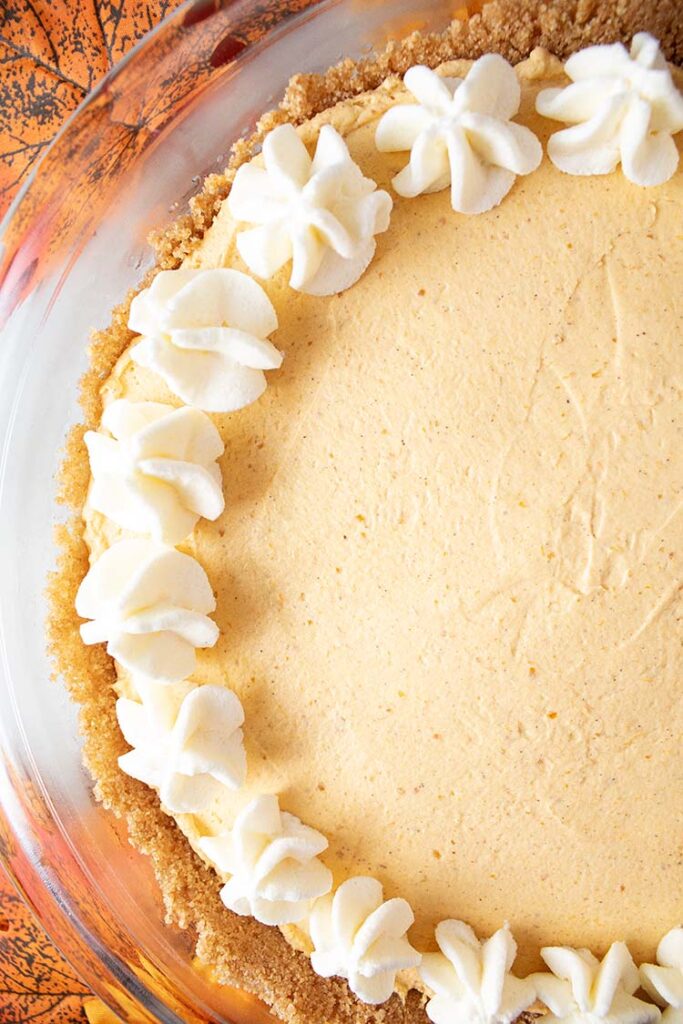
- Need a showstopper for your Halloween party? This no-bake pumpkin cheesecake is an instant hit! 🧡
- Steal the dessert spotlight with this 2-ingredient pumpkin spice loaf. Easy, delicious, and totally foolproof!
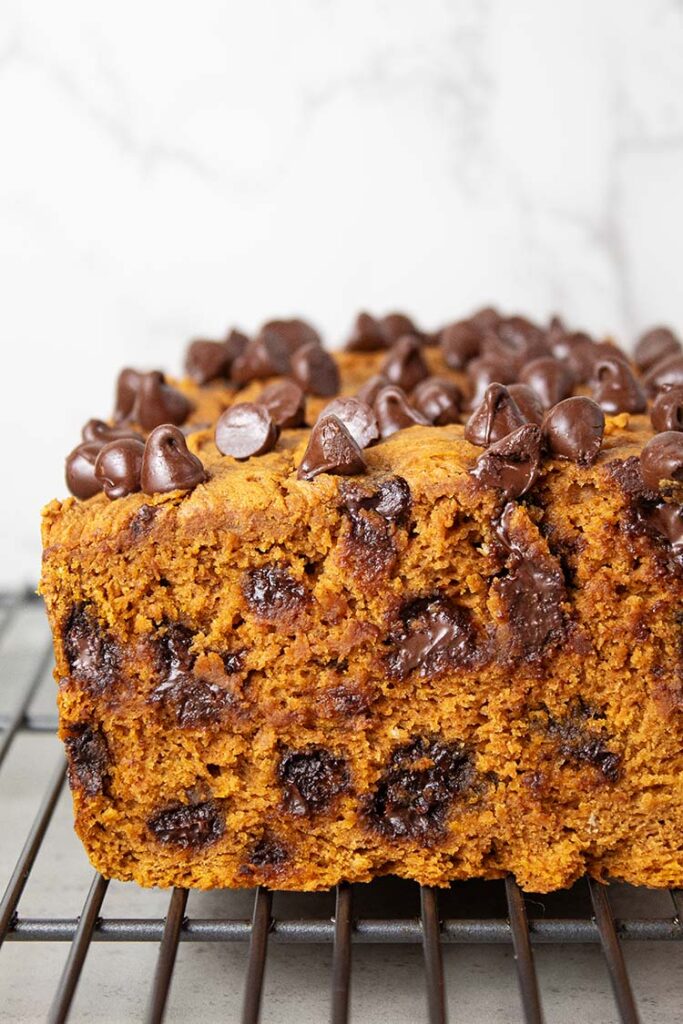
- Want to level up your pumpkin bread game? Add chocolate chips and try this pumpkin bread recipe. You’re welcome.
- Cozy fall vibes? Check. Sip on this dreamy pumpkin pie latte and soak in all that autumn goodness. ☕


Love This Post? Please Give it a Share!
I hope you love this Halloween dessert recipe! If you like this post, it would be greatly appreciated if you give it a share or save by using the social sharing icons. THANK YOU!
Halloween No-Bake Cherry Cheesecake

Ingredients
Crust Ingredients
- 1 store-bought 9” or 10” graham cracker crust OR
- 1 1/2 cups graham cracker crumbs (finely crushed; about 12 full graham cracker sheets)
- 1/2 cup butter (melted)
- 1/4 cup brown sugar or granulated sugar
Filling Ingredients
- 1 cup heavy whipping cream
- 24 oz cream cheese (softened to room temperature)
- 1 1/2 cups powdered sugar
- 1 tsp vanilla extract
- 1/4 cup sour cream
Topping Ingredients
- 20 oz can cherry pie filling
- candy eyes
Instructions
Crust Instructions
- If you use a store-bought crust, you’re good to go! To make your own crust, follow these instructions:
- Combine graham crackers crumbs and sugar in a bowl, then add melted butter and combine thoroughly.
- Press crust into the bottom and up the sides of a 9” or 10” pie dish very tightly. Use a measuring cup or back of the spoon to firmly pack the crust.
- Chill for one hour in the fridge.
Filling and Topping Instructions
- Add heavy whipping cream to a mixing bowl and whip with mixer (hand or stand) on high speed, scraping down the sides as needed, until the cream reaches stiff peaks (about 2-4 minutes). Immediately place in refrigerator.
- In a separate mixing bowl, combine cream cheese and powdered sugar and mix on medium speed, scraping down the sides as needed, until the mixture is smooth.
- Add vanilla extract and sour cream and again mix on medium until the mixture is smooth, scraping down the sides as needed.
- Remove the heavy whipping cream from the refrigerator and carefully fold it into the cream cheese mixture using a silicone spatula. Do not overmix; overmixing will deflate the whipped cream.
- Remove the crust from the fridge and pour the filling onto the crust. Spread it evenly using a silicone spatula or an offset spatula. The offset spatula requires less effort, so use it if you have it!
- Cover and refrigerate for at least 8-12 hours, if not longer (I try to go for 14 if possible). Approximately two hours before serving, remove the cheesecake from the refrigerator, add the cherry pie filling as a topping, and place it back in the refrigerator for the final two hours.
Serving Instructions
- Remove from the refrigerator. Add candy eyes to the cherry filling by either lightly pressing on the candy eyes, or by pushing them into individual cherries for more of an eyeball look.
- Cut pieces with a knife. To get cleaner cuts, microwave a jar of water and place the knife into the water and wipe the water off between each cut. The warmed knife will give you cleaner cuts.
- Store covered in the fridge for up to five days.
Nutrition Estimates (Per Serving)
Nutrition Disclaimer
Nutrition Estimates are per serving and included as a courtesy only. They are accurate to the best of our knowledge based on the ingredients and brands used, but their accuracy is not guaranteed.