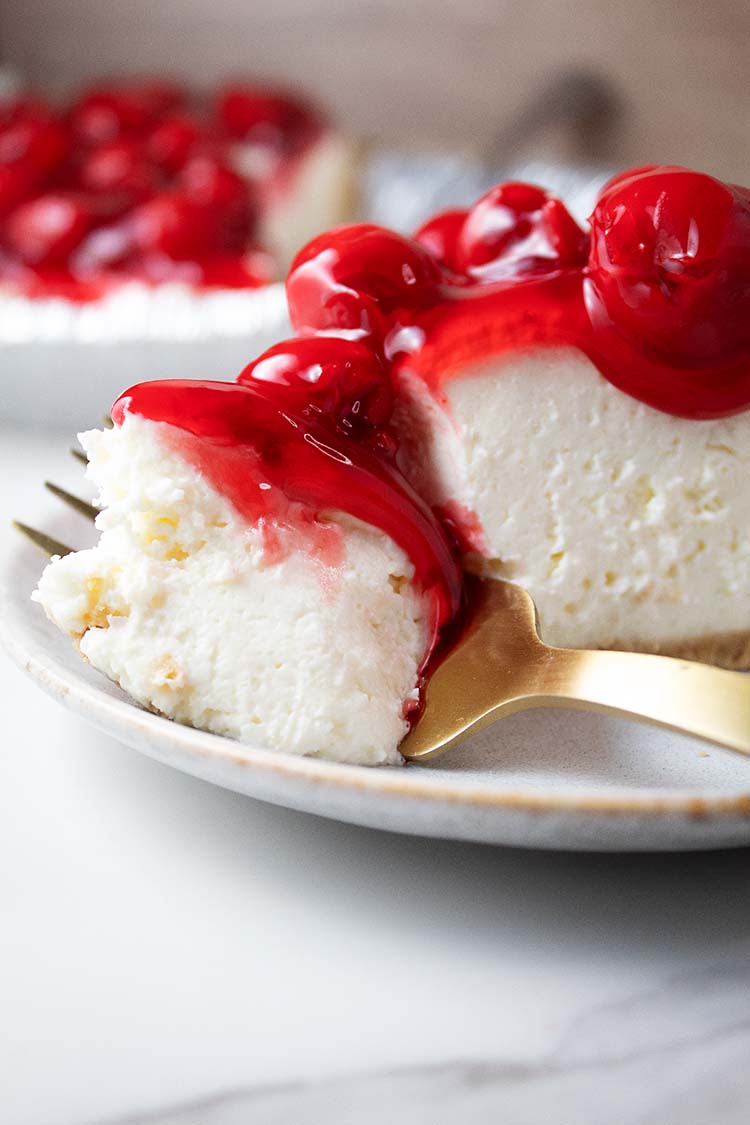
No-Bake Cherry Cheesecake
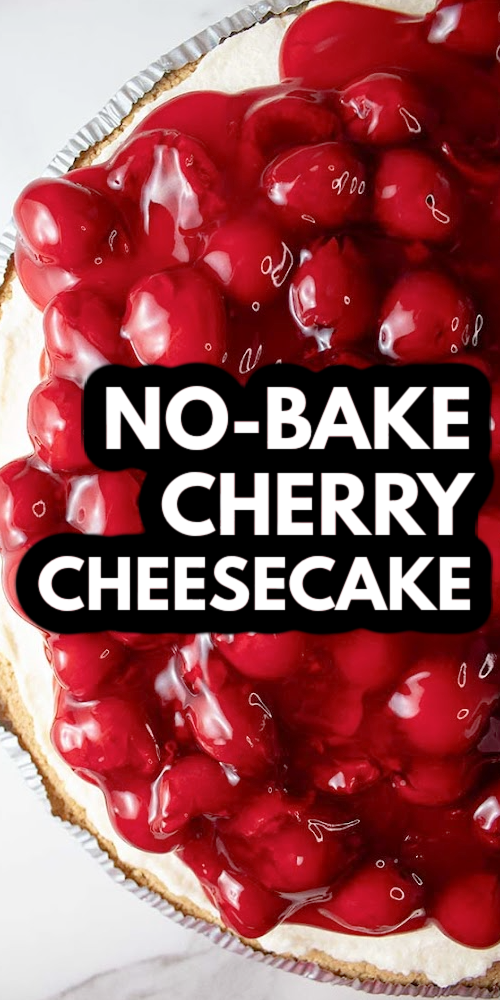
No-Bake Cherry Cheesecake is the ultimate creamy fruit-topped dessert that’s as easy to make as it is delicious. With its creamy texture and sweet-tangy cherry pie topping, it’s perfect for any occasion. Best of all, no oven is required!
This post contains a few affiliate links. If you purchase through one of these links (thank you!), I will make a small commission at no cost to you, which helps support my content creation.
Why You Will Love No-Bake Cherry Cheesecake
Ingredients Needed for This Cherry No-Bake Cheesecake Recipe
Ingredient quantities are located in the recipe card at the end of the post.
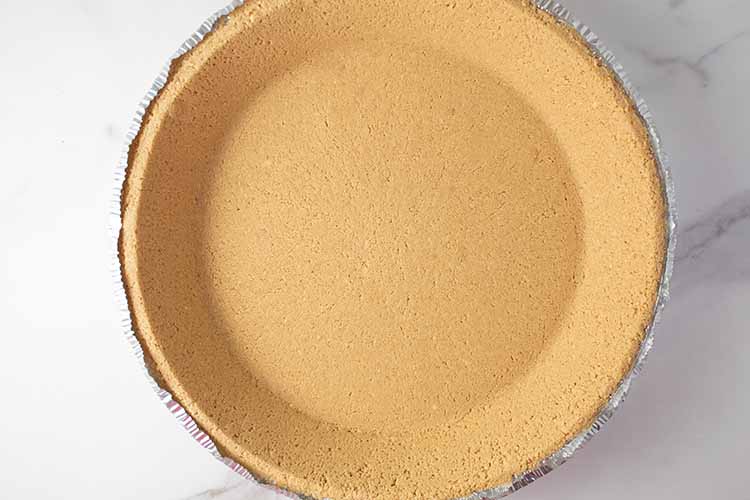
- Store-bought 9″ or 10″ graham cracker crust OR
- Graham cracker crumbs
- Brown sugar
- Butter
- Heavy whipping cream
- Cream cheese
- Sour cream
- Powdered sugar
- Vanilla extract
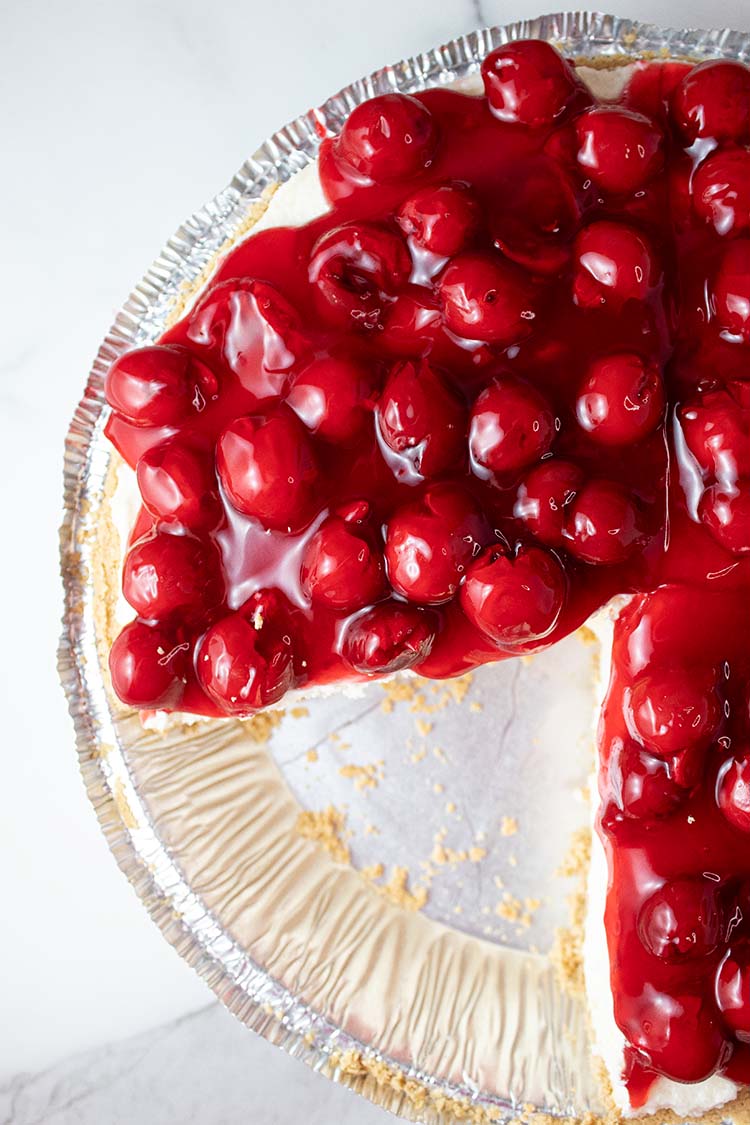
- Cherry pie filling
✨ Optional ingredient swap: Want to switch up the flavor? Try using vanilla wafers instead of graham crackers in the crust!
How To Make No-Bake Cherry Cheesecake (Quick Overview)
The steps below are just a quick overview of how to make the no-bake cherry cheesecake recipe. The full process in detail is located in the recipe card at the end of the post.
First, you’ll need to prepare your crust. I used a storebought graham cracker crust for these photos, but homemade works great too! (See the recipe card at the bottom of the post for instructions.)
Optional ingredient swap: Want to switch up the flavor? If you make a homemade crust, use vanilla wafers instead of graham crackers! You can completely substitute the graham crackers or do a combo.
Now it’s time to make the homemade filling.
To make the filling, start by whipping your heavy cream into stiff peaks and sticking it in the fridge. (Some recipes skip this and whip the cream straight into the cream cheese, but in my experience, the extra fridge step makes a big difference!)
In another bowl, mix the cream cheese and powdered sugar on medium speed until smooth, scraping down the sides as you go.
Then, add the vanilla extract and sour cream, and mix again until everything is smooth.
Grab the chilled whipped cream from the fridge and gently fold it into the cream cheese mixture with a silicone spatula. (Be careful not to overmix! Overmixing will deflate all the fluffy whipped cream you just made.)
Now for the fun part: assembling your cheesecake!
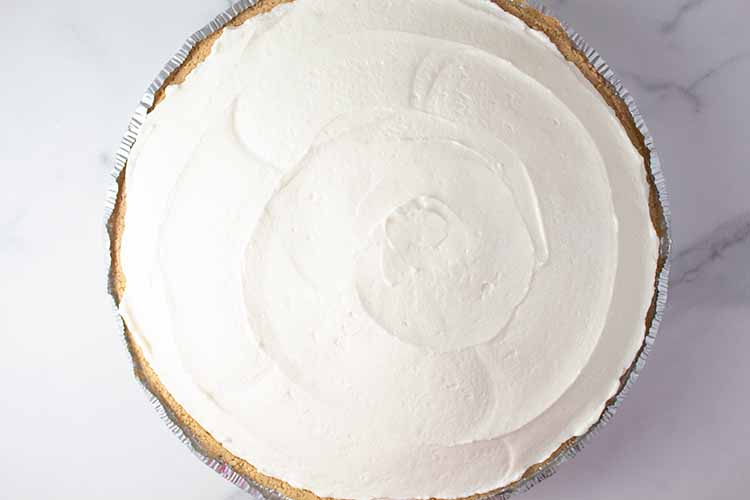
Pour the filling into the crust and spread it out evenly. Cover it up and place it in the fridge for at least 8-12 hours, though a bit longer (like 14 hours) makes it even better.
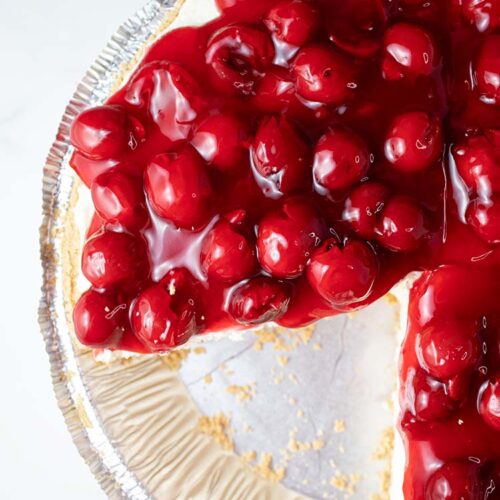
🍒 About two hours before you’re ready to serve your cheesecake, cover the top with cherry pie filling, then pop it back in the fridge to finish chilling.
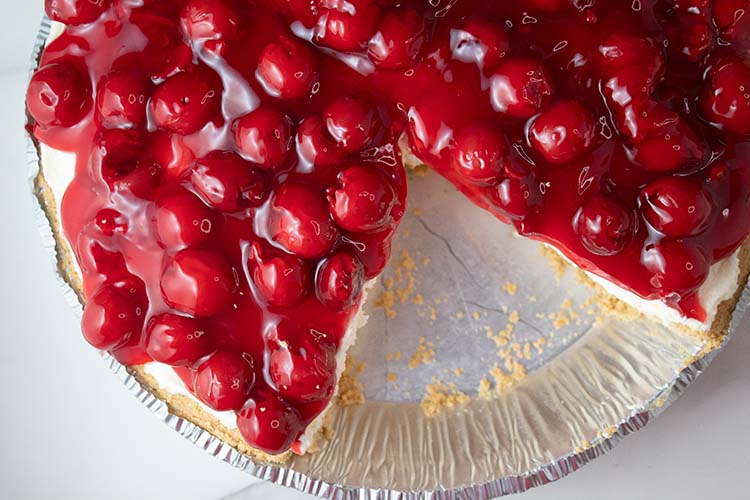
Slice, serve, and enjoy!
To get cleaner cuts, microwave a jar of water and place the knife into the water and wipe the water off between each cut. The warmed knife will give you cleaner cuts.

Store your cheesecake in the fridge, covered, for up to five days.
Looking for more holiday recipes, no-bake desserts, and cheesecake recipes? Check out some of the links below!
More Cheesecake Recipes
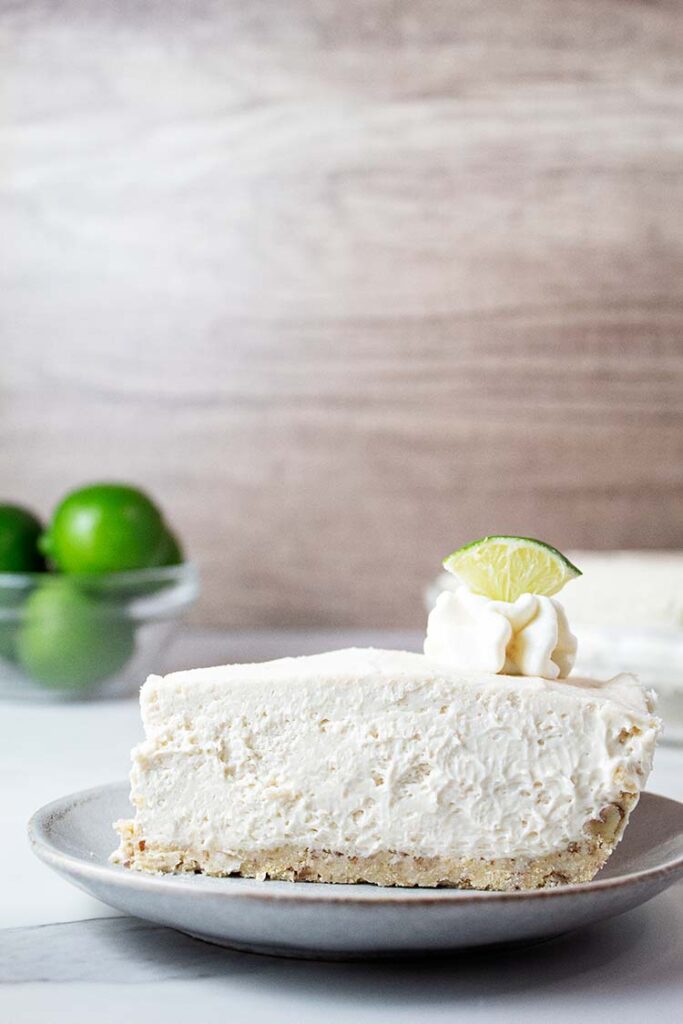
- No oven? No problem! First, a strawberry no-bake cheesecake hits the mark every time. Or, this no-bake key lime cheesecake is a creamy, zesty slice of heaven that’s impossible to resist.
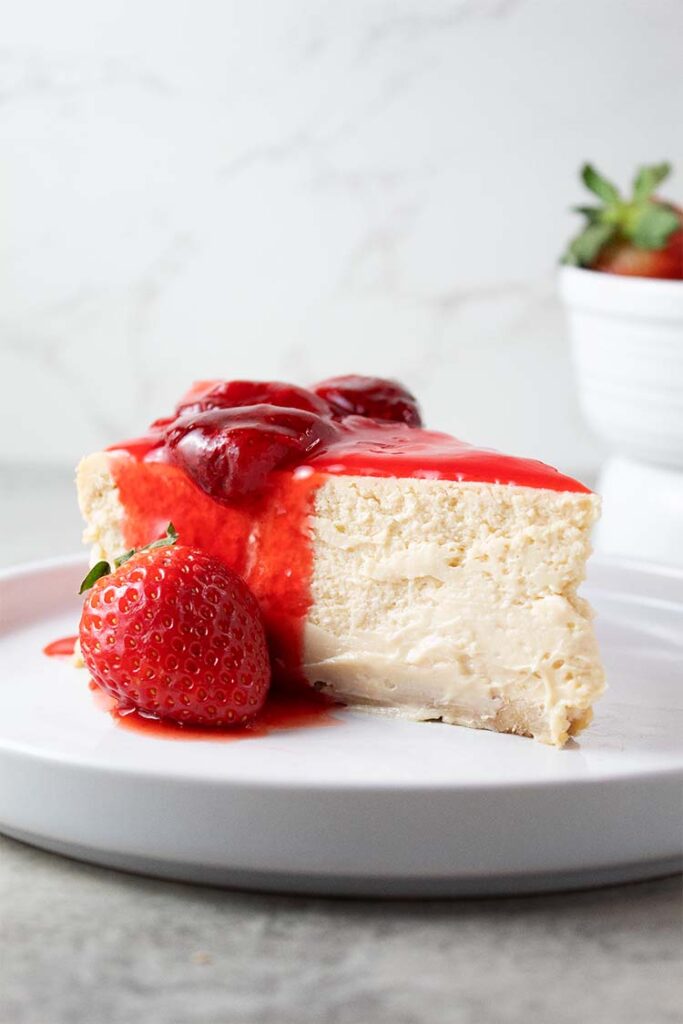
- Make this spectacular and sophisticated strawberry cheesecake. It will be the centerpiece dessert for any event!
- Looking to wow your guests? Serve up this decadent pecan pie cheesecake. It’s so good that they’ll be raving about it long after the plates are cleared.
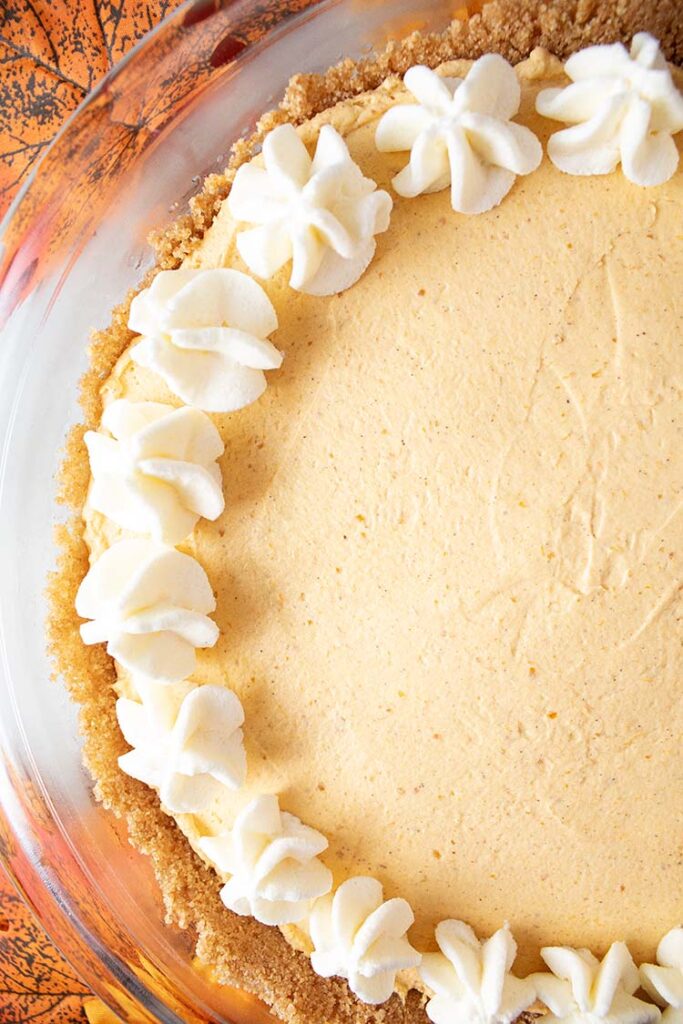
- Pumpkin lovers, listen up! You NEED to try this pumpkin cheesecake. It’s a winning Thanksgiving dessert filled with rich, spiced perfection.
- Short on time? No worries! The easy no-bake pumpkin cheesecake saves the day while still delivering all the compliments and cozy fall flavors!
- Craving something sweet and tangy? The no-bake strawberry rhubarb cheesecake has got you covered. This flavor-packed treat is as refreshing as it is indulgent!


I hope you love this cheesecake as much as we do in my household. Don’t forget that this recipe is versatile! Top it with any pie filling you’d like.
More Dessert Recipes
Still hungry for inspiration? Our collection of dessert recipes has everything you need to satisfy your sweet tooth, no matter the occasion!
- Craving something sweet but short on time? Meet the no-bake peanut butter pie—creamy, dreamy, and guaranteed to be the star of any occasion. Perfect for a summer picnic, Thanksgiving feast, Christmas celebration, Easter dessert menu, or even a spooky Halloween party—this dessert is an instant crowd favorite!
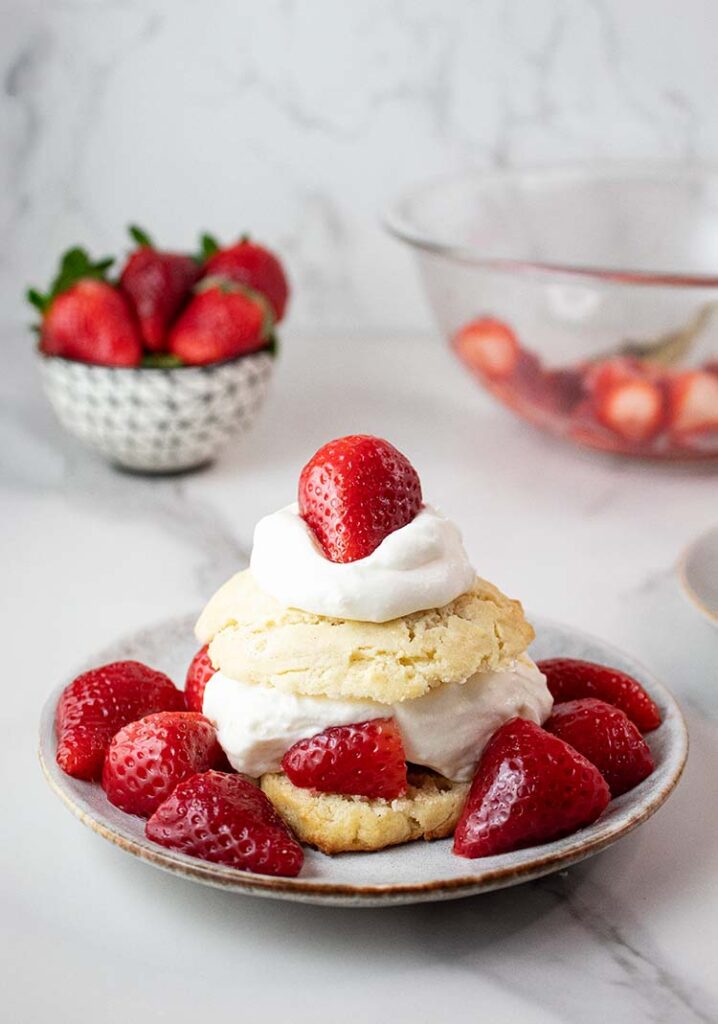
- Nothing says “classic” strawberry shortcake. Like a timeless childhood favorite dessert that never fails to impress!
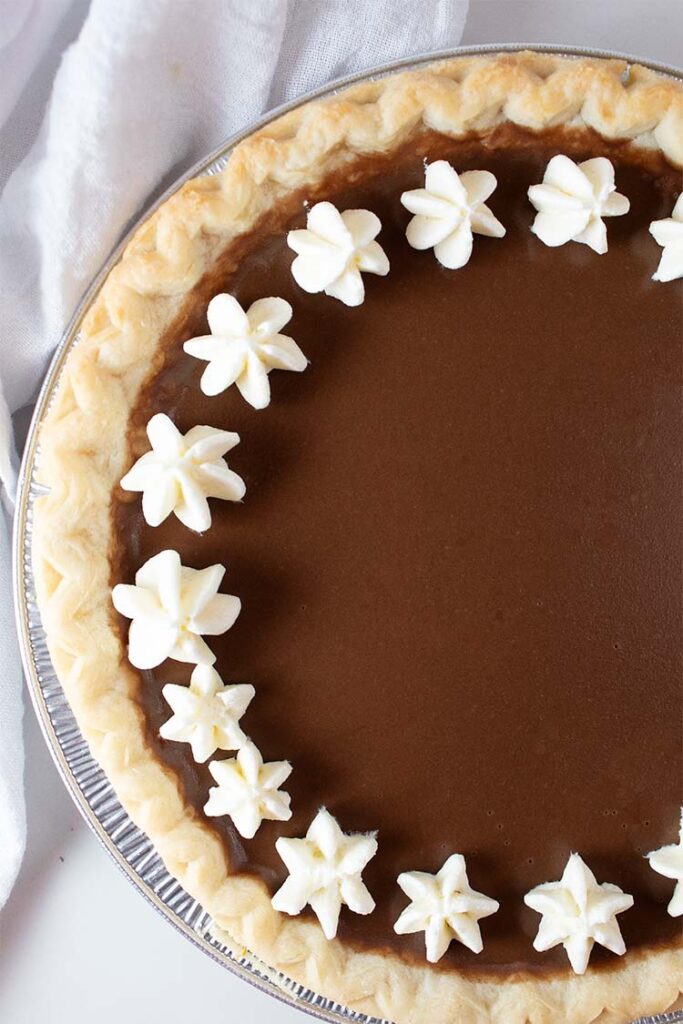
- Want to leave your guests speechless? The chocolate pudding pie is your secret weapon. It’s rich, velvety, and absolutely irresistible, so don’t be surprised when everyone’s plate is cleared in 60 seconds or less.
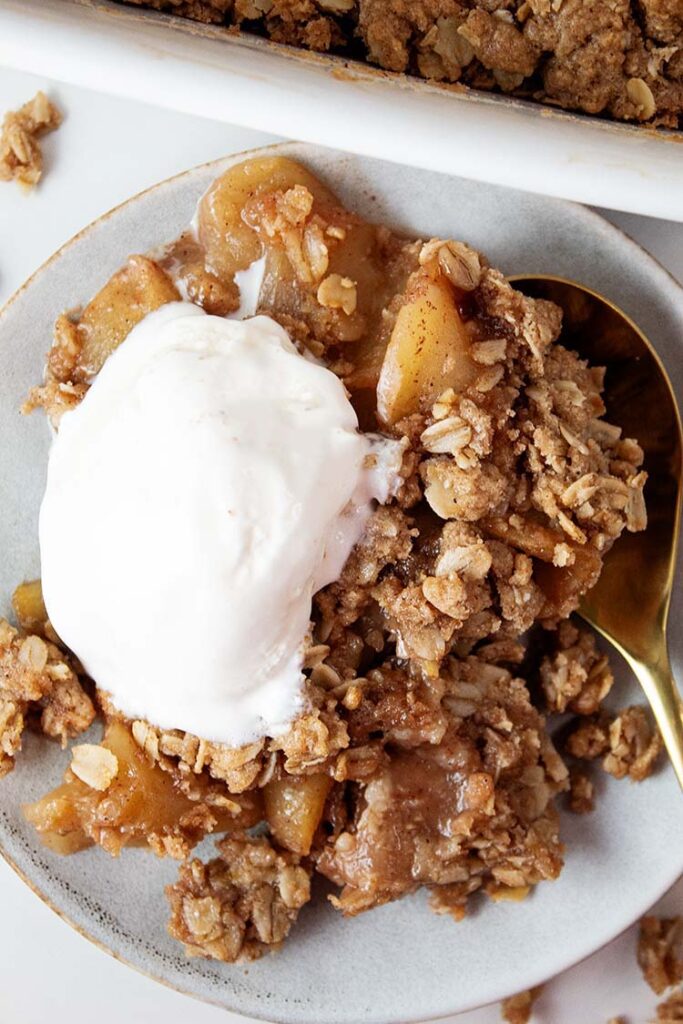
- This apple crisp with oats is the ultimate comfort dessert: simple, delicious, and impossible to resist. Even the pickiest eaters will ask for seconds!
- Share the joy with these peanut butter chocolate balls. Bite-sized, chocolatey, and totally addictive, they’re perfect for gifting… or keeping all to yourself.
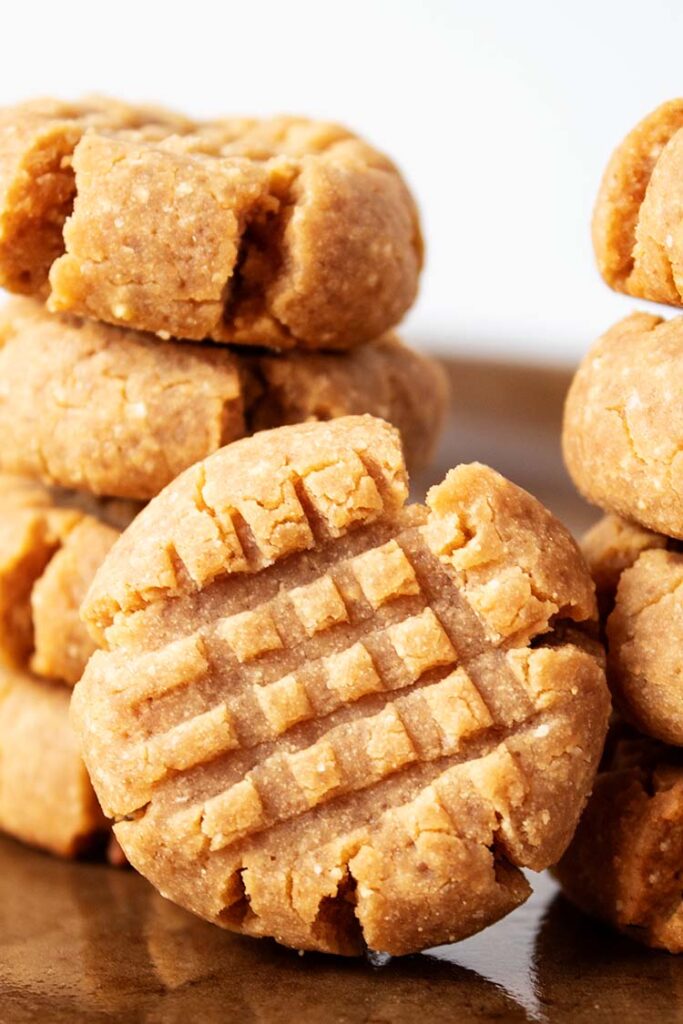
- Want to steal the show at the dessert table? These easy peanut butter cookies are a guaranteed hit. Whether it’s for your Christmas cookie lineup, a picnic treat, or a game-day dessert, they’ll have everyone coming back for more.
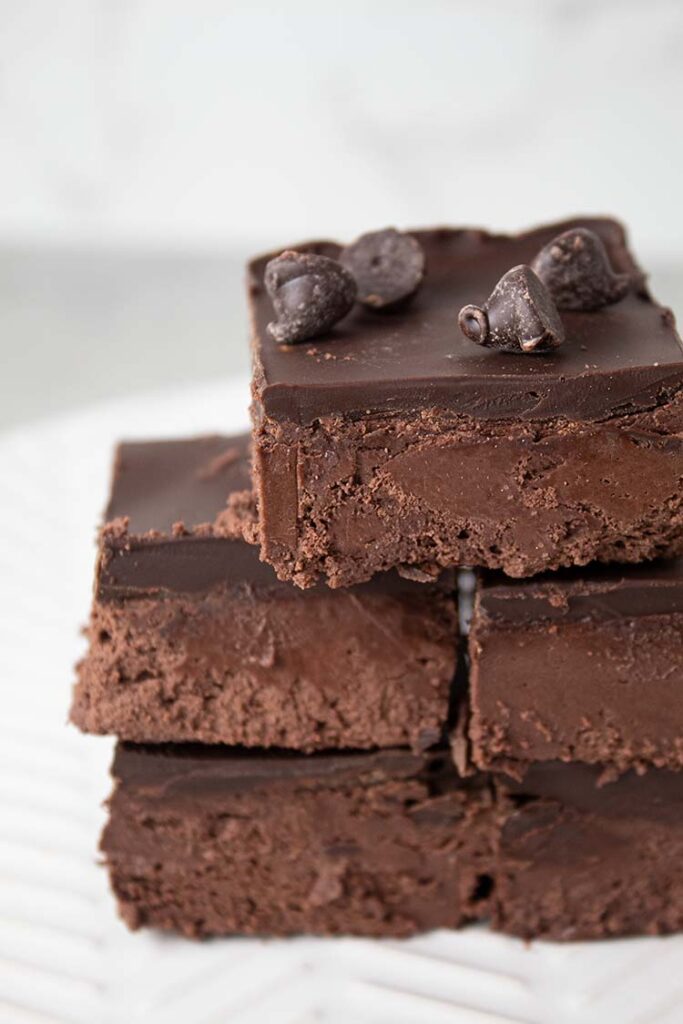
- Need a dessert that’s as indulgent as it is easy? The no-bake chocolate cream cheese dessert is pure heaven. With its decadent chocolate and cream cheese layers, it’s guaranteed to wow with every bite.
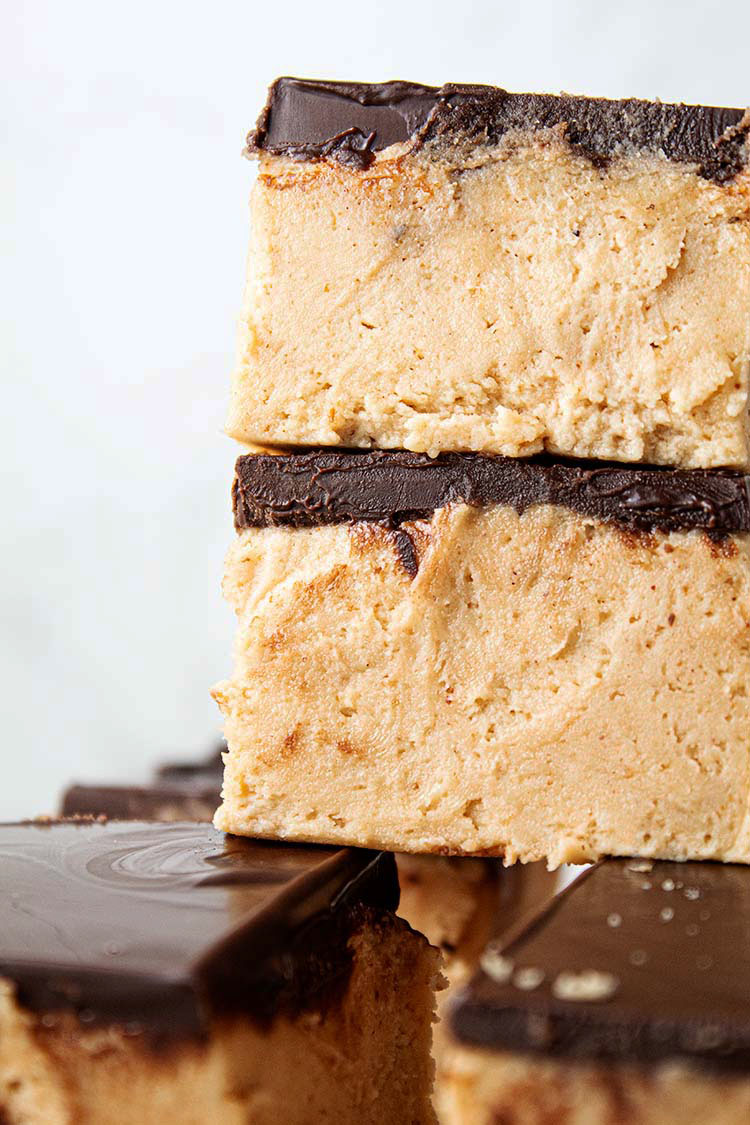
- In a pinch for a last-minute dessert? This peanut butter no-bake cream cheese dessert is here to save the day. Quick, dangerously delicious, and always a hit—this is one recipe you’ll make over and over again.


Love This Post? Please Give it a Share!
I hope you love this easy no-bake cherry cheesecake recipe! If you like this post, it would be greatly appreciated if you give it a share or save by using the social sharing icons. THANK YOU!
No Bake Cherry Cheesecake
Ingredients
Crust Ingredients
- 1 store-bought 9” or 10” graham cracker crust OR
- 1 1/2 cups graham cracker crumbs (finely crushed; about 12 full graham cracker sheets)
- 1/2 cup butter (melted)
- 1/4 cup brown sugar or granulated sugar
Filling Ingredients
- 1 cup heavy whipping cream
- 24 oz cream cheese (softened to room temperature)
- 1 1/2 cups powdered sugar
- 1 tsp vanilla extract
- 1/4 cup sour cream
Topping Ingredients
- 20 oz can cherry pie filling
Instructions
Crust Instructions
- If you use a store-bought crust, you’re good to go! To make your own crust, follow these instructions:
- Combine graham crackers crumbs and sugar in a bowl, then add melted butter and combine thoroughly.
- Press crust into the bottom and up the sides of a 9” or 10” pie dish very tightly. Use a measuring cup or back of the spoon to firmly pack the crust.
- Chill for one hour in the fridge.
Filling and Topping Instructions
- Add heavy whipping cream to a mixing bowl and whip with mixer (hand or stand) on high speed, scraping down the sides as needed, until the cream reaches stiff peaks (about 2-4 minutes). Immediately place in refrigerator.
- In a separate mixing bowl, combine cream cheese and powdered sugar and mix on medium speed, scraping down the sides as needed, until the mixture is smooth.
- Add vanilla extract and sour cream and again mix on medium until the mixture is smooth, scraping down the sides as needed.
- Remove the heavy whipping cream from the refrigerator and carefully fold it into the cream cheese mixture using a silicone spatula. Do not overmix; overmixing will deflate the whipped cream.
- Remove the crust from the fridge and pour the filling onto the crust. Spread it evenly using a silicone spatula or an offset spatula. The offset spatula requires less effort, so use it if you have it!
- Cover and refrigerate for at least 8-12 hours, if not longer (I try to go for 14 if possible). Approximately two hours before serving, remove the cheesecake from the refrigerator, add the cherry pie filling as a topping, and place it back in the refrigerator for the final two hours.
Serving Instructions
- Remove from the refrigerator and cut with a knife. To get cleaner cuts, microwave a jar of water and place the knife into the water and wipe the water off between each cut. The warmed knife will give you cleaner cuts.
- Store covered in the fridge for up to five days.
Notes
- Want to switch things up? Instead of using finely crushed graham crackers in the crust, use finely crushed vanilla wafers.
Nutrition Estimates (Per Serving)
Nutrition Disclaimer
Nutrition Estimates are per serving and included as a courtesy only. They are accurate to the best of our knowledge based on the ingredients and brands used, but their accuracy is not guaranteed.