No-Bake Strawberry Cheesecake

Nothing says summer like strawberries! This easy and creamy No-Bake Strawberry Cheesecake is a sweet nod to one of summer’s favorite fruits.

This post contains a few affiliate links. If you purchase through one of these links (thank you!), I will make a small commission at no cost to you, which helps support my content creation.
Why You Will Love This No-Bake Strawberry Cheesecake
Ingredients Needed for Strawberry No-Bake Cheesecake
Ingredient quantities for this easy no-bake strawberry cheesecake dessert recipe are located in the recipe card at the end of the post.
- Store-bought 9″ or 10″ graham cracker crust OR
- Graham crackers
- Butter
- Brown sugar or granulated sugar
- Strawberry glaze OR
- Strawberries
- Water
- All-purpose flour
- Red food coloring (optional)
- Heavy whipping cream
- Cream cheese
- Powdered sugar
- Lemon juice
- Vanilla extract
- Sour cream
How To Make No-Bake Strawberry Cheesecake (Quick Overview)
The steps below are just a quick overview of how to make the no-bake cheesecake. The full process in detail is located in the recipe card at the end of the post.
This recipe has a few parts, but they’re all super easy! You’ll need to prepare the crust, the strawberry glaze, and the filling. The crust and strawberry glaze can be storebought or homemade.
Step 1: The Crust
For the crust, you can either use a store-bought crust or make your own using the recipe on the recipe card.
If you make your own crust, refrigerate it after you’ve pressed it into your pie pan.
Step 2: The Strawberry Glaze
For the strawberry glaze, you can either use store-bought strawberry glaze (this is what I prefer to do!) or make your own using the recipe on the recipe card.
Once you’ve made (or have out) your glaze, set it aside. This glaze will be swirled into the pie, or you can add it on top.
Step 3: The Filling
Add heavy whipping cream to a mixing bowl and beat on high speed with a hand or stand mixer until stiff peaks form (about 2-4 minutes). Refrigerate when done.
In another bowl, mix cream cheese and powdered sugar on medium speed until smooth, scraping the sides as needed.
Add lemon juice, vanilla extract, and sour cream, and mix until smooth, scraping the sides as necessary. (Photo 1)
Gently fold the chilled whipped cream into the cream cheese mixture with a spatula. Avoid overmixing to keep the whipped cream fluffy. (Photo 2)

Remove the crust from the fridge and pour the filling onto it.
Now it’s time to incorporate the glaze! 🍓 You can:
- Swirl the Strawberry Glaze into the top half of the filling (as pictured)
- Mix the glaze into all the filling
- Spread the glaze on top
Optionally, you can also stir in chopped strawberries.
Cover the cheesecake and refrigerate for at least 8-12 hours, or longer (I usually aim for 14 hours).

Step 4: Final Assembly
Remove the cheesecake from the fridge and slice with a knife. For cleaner cuts, heat a jar of water, dip the knife in it, and wipe it off before each cut.
Serve plain or with strawberries and Homemade Whipped Cream. Enjoy!

How to Store No-Bake Strawberry Cheesecake in the Fridge
To store no-bake strawberry cheesecake in the refrigerator, make sure it’s covered tightly with plastic wrap or transferred to an airtight container to keep it fresh. Properly stored, it can last up to 5 days while maintaining its creamy texture and delicious flavor!
How to Store Strawberry No-Bake Cheesecake in the Freezer
To store no-bake strawberry cheesecake in the freezer, wrap it tightly in plastic wrap and place it in an airtight container to prevent freezer burn. It can be frozen for up to 2 months; just thaw it in the refrigerator overnight before serving for the best texture and flavor!
More No-Bake Dessert Recipes
Want more delicious no-bake dessert recipes? Here are some winners that are always a hit!
- Try this banana pudding for the ultimate no-bake recipe. It’s creamy, delicious, and always a hit—guaranteed to disappear fast!
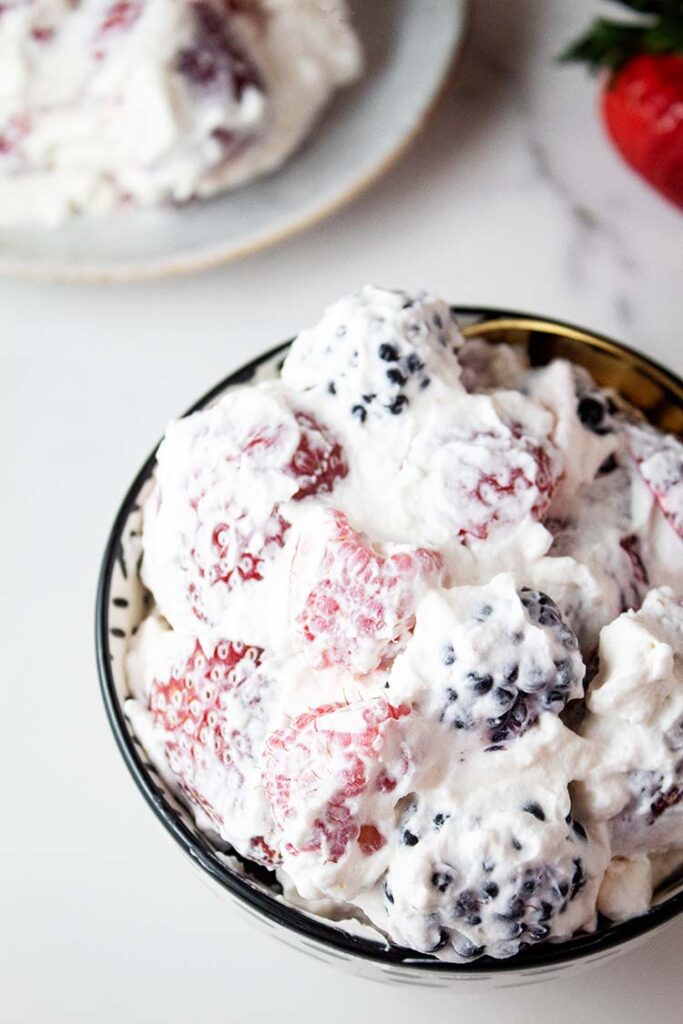
- Impress your crowd with this cheesecake fluff recipe. Ideal for family gatherings, parties, or as an easy Christmas dessert or fun Halloween treat. For a richer twist, check out the indulgent brownie cheesecake fluff.
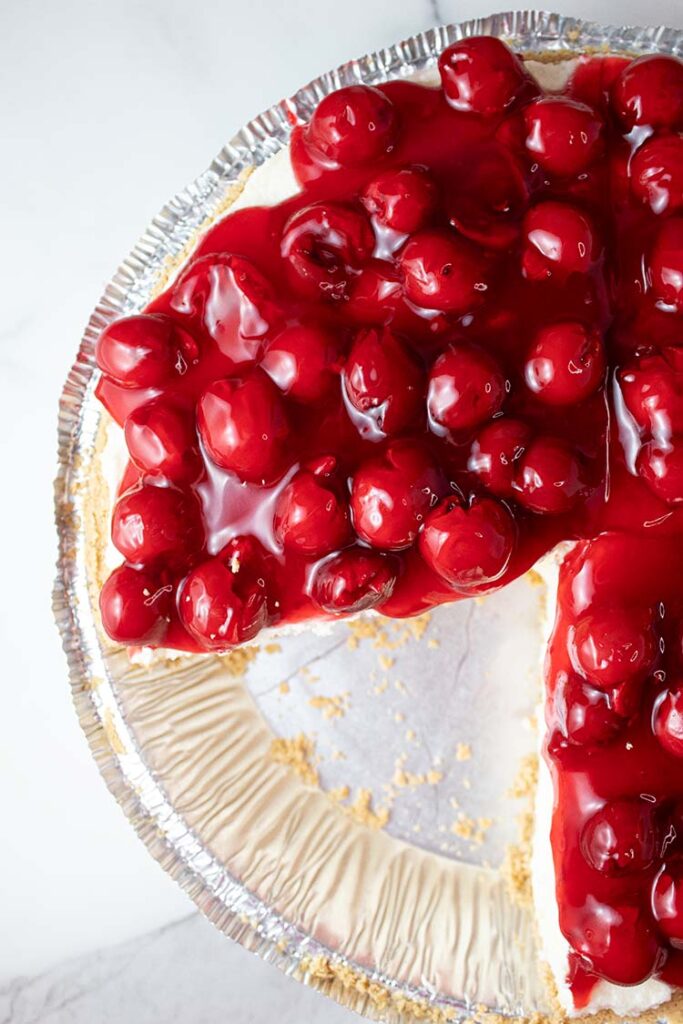
- Looking for something rich and sweet? This cherry no-bake cheesecake is creamy, delicious, and always a crowd favorite.
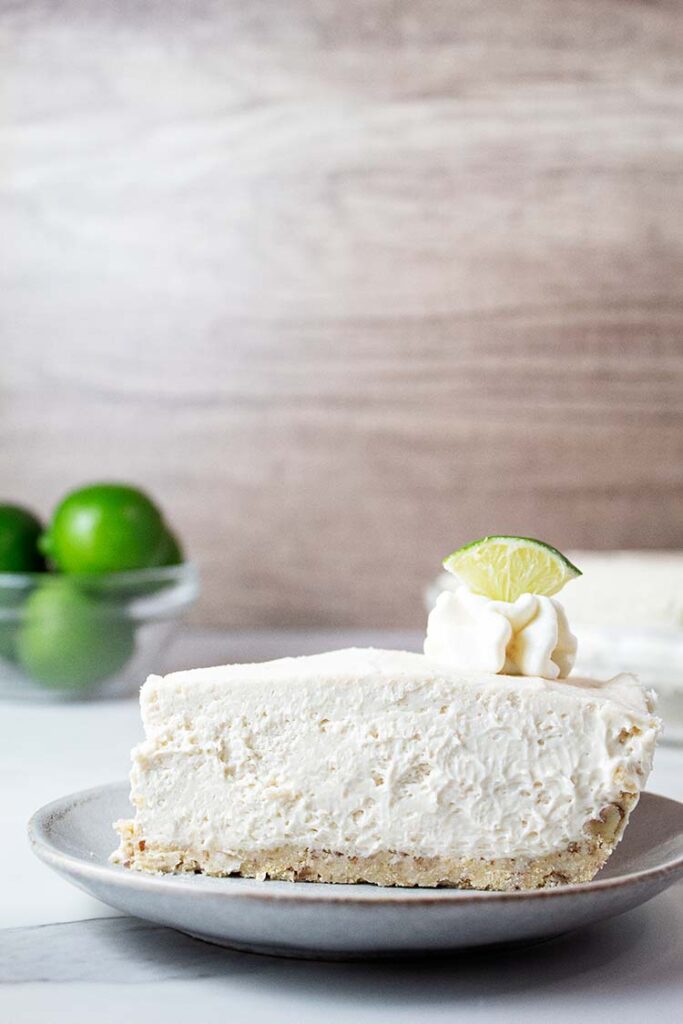
- Want a citrusy dessert? The no-bake key lime cheesecake is sweet, tangy, and refreshingly light—no oven needed!
- These no-bake cookies are simple, delicious, and perfect for any occasion. Your new go-to dessert!
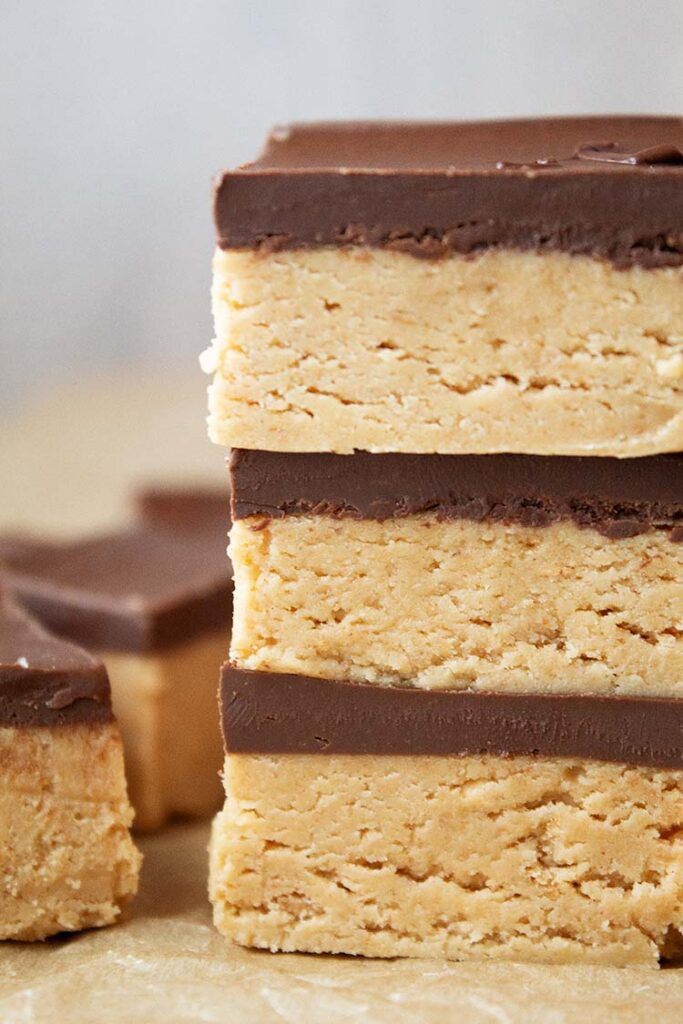
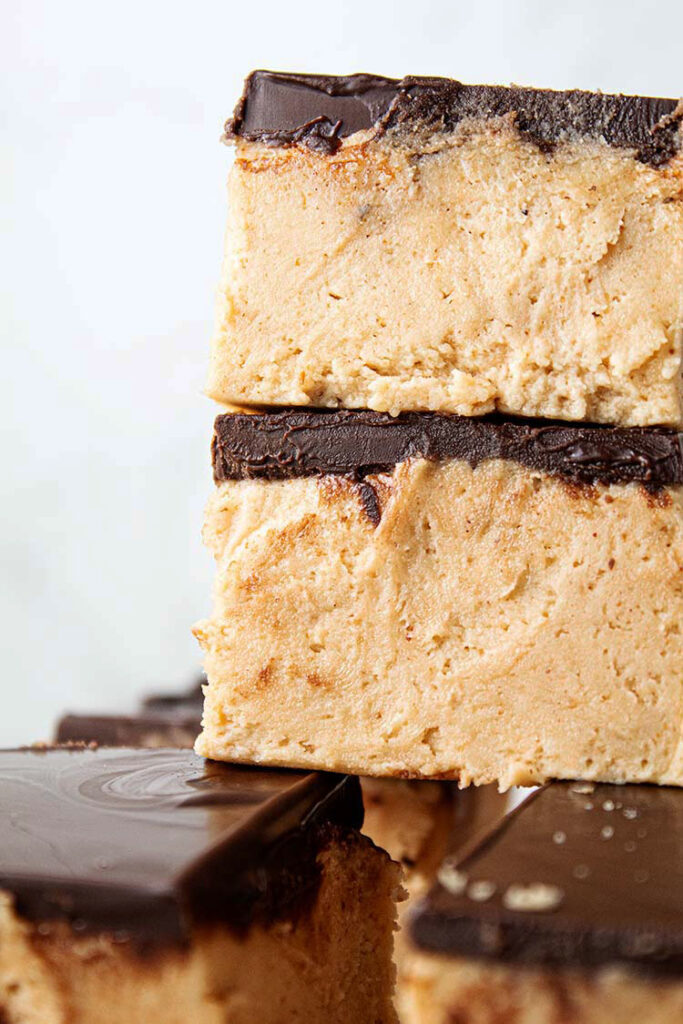
- Warning: these peanut butter bars are ridiculously good. Crispy, creamy, and impossible to resist—you’ll be making these for all the parties!


I hope you love this strawberry pie! 🍓

More Easy Summer Dessert Recipes
One thing I love in life is a filling and fabulous dessert, so if you’re like me, you’ll love these summer dessert recipes too:
- When it comes to summer desserts, this fresh peach cobbler is hugely popular for all kinds of obvious reasons! It is great as a 4th of July dessert.
- Make the summer classic strawberry shortcake with its fresh cream and strawberries that will take you back to your childhood days!
- Try the no-bake peanut butter pie—creamy, delicious, and perfect for any occasion. Whether it’s a summer picnic, Thanksgiving, Christmas, Easter, or a Halloween party, this dessert is always a crowd-pleaser.
- These peanut butter chocolate balls are bite-sized, chocolatey, and perfect for sharing—or keeping all to yourself!
- Looking for an easy yet indulgent dessert? The no-bake chocolate cream cheese dessert layers chocolate and cream cheese for a rich, decadent treat.
- Or, make this peanut butter no-bake cream cheese dessert that is fast, delicious, and always a hit!
- Peanut butter cookies are a hit wherever you takeor serve them, without exception!


Love This Post? Please Give it a Share!
I hope you love this easy no-bake cheesecake dessert recipe! If you like this post, it would be greatly appreciated if you give it a share or save by using the social sharing icons. THANK YOU!
No-Bake Strawberry Cheesecake

Ingredients
Crust Ingredients: Store-Bought (Option 1)
- 1 pre-made 9” or 10” graham cracker crust
Crust Ingredients: Homemade (Option 2)
- 1 1/2 cups graham cracker crumbs (finely crushed; about 12 full graham cracker sheets)
- 1/4 cup brown sugar or granulated sugar
- 6 tbsp butter (melted)
Strawberry Glaze Ingredients: Store-Bought (Option 1)
- 1 cup strawberry glaze
Strawberry Glaze Ingredients: Homemade (Option 2)
- 1 1/2 cups finely chopped strawberries (divided)
- 1/2 cup water
- 1/4 cup powdered sugar
- 3 tbsp all-purpose flour
- 1/2 tsp vanilla extract
- Red food coloring (optional)
Filling Ingredients
- 1 cup heavy whipping cream
- 24 oz cream cheese (room temperature)
- 1 1/2 cups powdered sugar
- 1 tbsp lemon juice
- 2 tsp vanilla extract
- 1/4 cup sour cream (room temperature)
Additional Topping Ingredients (Optional)
- Strawberries
- Homemade Whipped Cream (or whipped topping)
Instructions
Crust Instructions
- If you're using a store-bought crust, move on to the Strawberry Glaze Instructions.
- If you're making the crust homemade: Combine graham crackers crumbs and sugar in a bowl, then add melted butter and combine thoroughly.
- Press crust into the bottom and up the sides of a 9” or 10” pie dish very tightly. Use a measuring cup or back of a spoon to firmly pack the crust.
- Chill for one hour in the fridge.
Strawberry Glaze Instructions
- If you’re using store-bought, move on to the Filling Instructions.
- If you're making the strawberry glaze homemade: add 1 cup finely chopped strawberries, water, powdered sugar, flour, and vanilla extract to a small stovetop pan. Bring to a boil, then simmer for 10 minutes.
- Remove from heat and allow the mixture to cool. Stir in remaining 1/2 cup finely chopped strawberries, as well as red food dye if you would like the color to be more vibrant. Set aside and move on to the Filling Instructions.
Filling Instructions
- Add heavy whipping cream to a mixing bowl and beat with a hand or stand mixer on high speed, scraping down the sides as needed, until the cream forms stiff peaks (approx. 2-4 minutes). Once done, refrigerate it.
- In another mixing bowl, blend cream cheese and powdered sugar on medium speed, scraping down the sides as necessary, until the mixture is smooth.
- Add lemon juice, vanilla extract, and sour cream, and mix on medium speed until smooth, remembering to scrape down the sides when needed.
- Take the chilled heavy whipping cream from the refrigerator and gently fold it into the cream cheese mixture using a silicone spatula. Avoid overmixing to prevent the whipped cream from deflating.
- Remove the crust from the fridge and pour the filling onto it. At this point, you can choose to evenly spread out the filling and: 1) Stir the Strawberry Glaze into the top half of the filling (this is the method pictured); 2) Stir the Strawberry Glaze into all of the filling; or 3) Spread the Strawberry Glaze on top of the filling. Optionally, you can also stir chopped strawberries into the filling.
- Cover the cheesecake and refrigerate for a minimum of 8-12 hours, or longer if possible (I typically aim for 14 hours).
Serving Instructions
- Take the cheesecake out of the fridge and slice using a knife. For neater cuts, heat a jar of water in the microwave, dip the knife in the water, and wipe it off before each cut. The warmed knife will result in cleaner slices.
- Serve plain or topped with strawberries and or Homemade Whipped Cream.
- Keep covered in the refrigerator for a maximum of five days.
Notes
- Nutrition facts are calculated using a store-bought crust and store-bought glaze.
Nutrition Estimates (Per Serving)
Nutrition Disclaimer
Nutrition Estimates are per serving and included as a courtesy only. They are accurate to the best of our knowledge based on the ingredients and brands used, but their accuracy is not guaranteed.