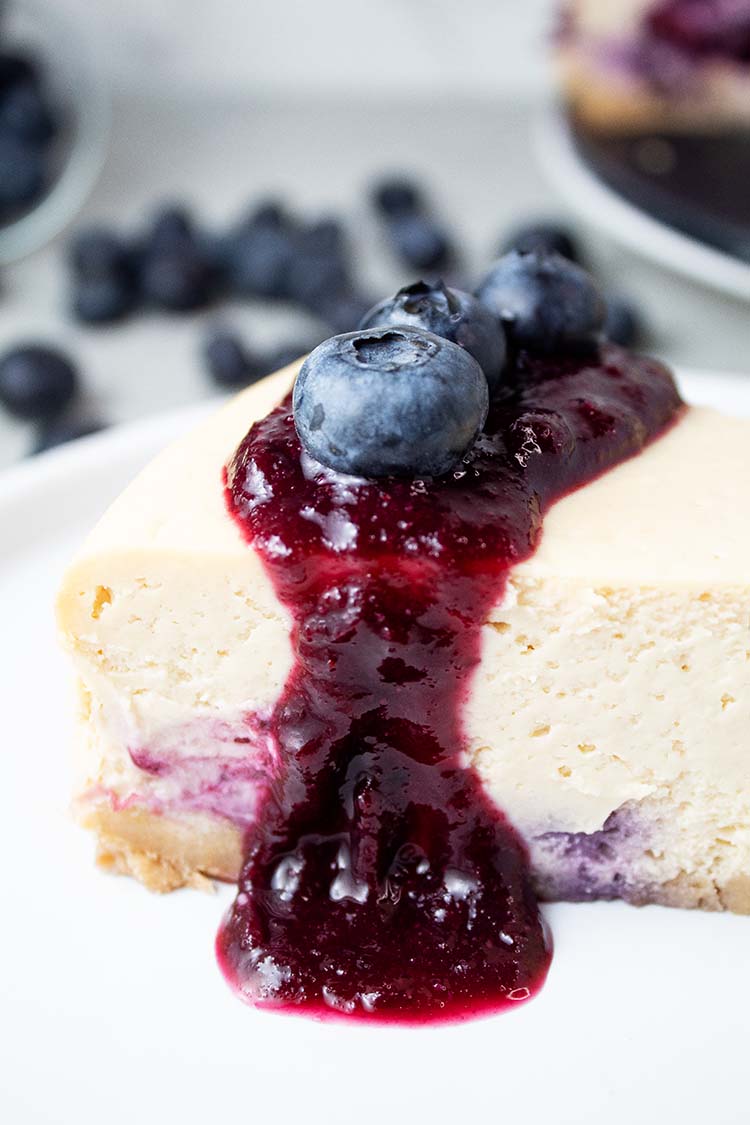
Blueberry Cheesecake

Get ready to fall in love with this fresh and bursting-with-flavor Blueberry Cheesecake! With its creamy, velvety filling and sweet-tart blueberry topping, it’s the ultimate dessert for any occasion.
Why You Will Love This Blueberry Cheesecake
Ingredients Needed for Blueberry Cheesecake
Ingredient quantities are located in the recipe card at the end of the post.
- Cream cheese (room temperature)
- Sour cream (room temperature)
- Brown sugar
- Granulated sugar
- Salt
- Lemon juice
- Vanilla extract
- All-purpose flour
- Eggs (room temperature)
- Fresh blueberries
- Non-stick cooking spray
- Graham cracker crumbs
- Butter
Tips for Making Blueberry Cake Cheesecake (Quick Overview)
The section below just outlines a few quick tips. The full process in detail is located in the recipe card at the end of the post.
💙 Press your crust firmly. Use the bottom of a flat measuring cup or glass to really pack the graham cracker mixture into the pan. This helps the crust stay sturdy and intact when sliced. You can press the mixture to the bottom only (as pictured), or slightly up the sides.

💙 Start with room temperature ingredients when called for. Some of the ingredients call for “room temperature.” Softened cream cheese, eggs, and other dairy blend seamlessly, giving you a silky, lump-free batter.
💙 Mix gently. Overmixing can whip too much air into the batter, which might cause cracks to form on the surface. Keep the mixing slow and steady for a perfectly smooth cheesecake.
💙 Fresh blueberries are preferred, but you can use frozen in a pinch. I prefer to use fresh blueberries in this cheesecake because they’re plump and don’t have a lot of excess moisture, but you can use thawed frozen blueberries if you can’t get your hands on fresh. Just make sure to remove as much moisture as possible by blotting the thawed blueberries with a paper towel.

💙 I prefer a steam pan over a water bath. It’s a more straightforward cheesecake method that works just as well in my experience. But if you’re a fan of the traditional water bath, feel free to stick with it!
💙 Let your cheesecake chill overnight. Cheesecake is one of those desserts that rewards patience! Letting it rest in the fridge for at least 6-8 hours (or better yet, overnight) gives it time to set and develop its flavor fully.
💙 Slice with a hot knife. For those clean, bakery-style slices, dip your knife in hot water and wipe it dry between cuts. It’s a small step that makes a big difference!
More Cheesecake Recipes
Love cheesecake? I’ve got you covered!
- No-bake strawberry cheesecake is always a huge hit when you are short on time and don’t want to fire up the oven.
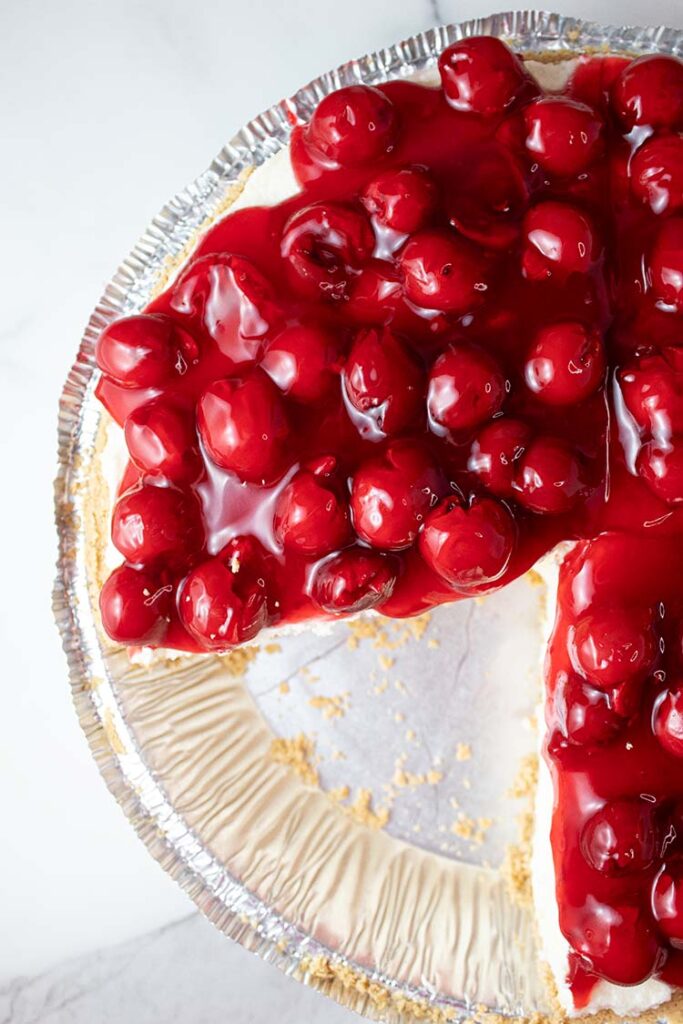
- This no-bake cherry cheesecake is topped with delicious cherries to make your day!
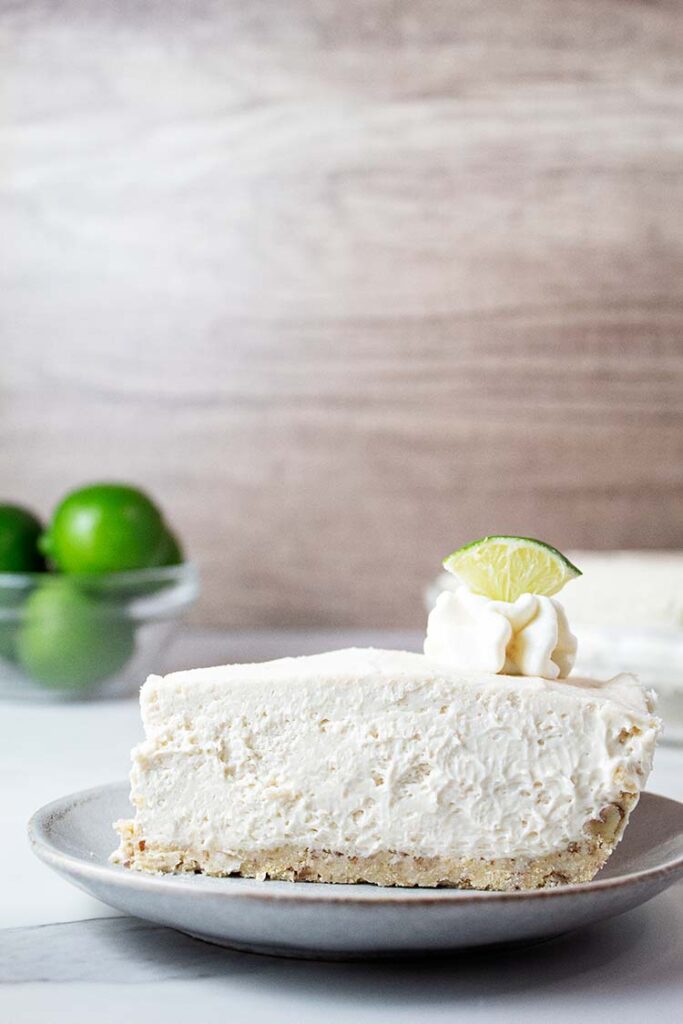
- Your guests will go wild for this tangy no bake key lime cheesecake! If you enjoy key lime pie then this recipe takes it up a notch to next-level satisfaction.
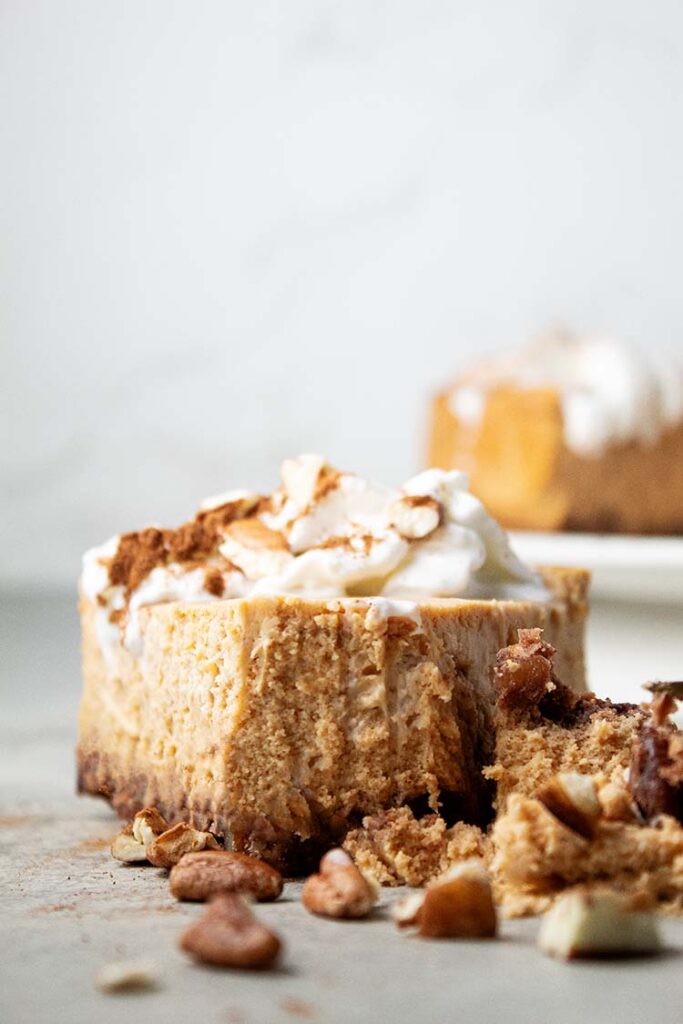
- Homemade pumpkin cheesecake is a centerpiece holiday dessert that will wow your entire family at any celebration! It is bursting with an amazing pumpkin flavor you will want again and again. Or, make this no-bake pumpkin cheesecake for the quicker option that will always keep your guests happy.
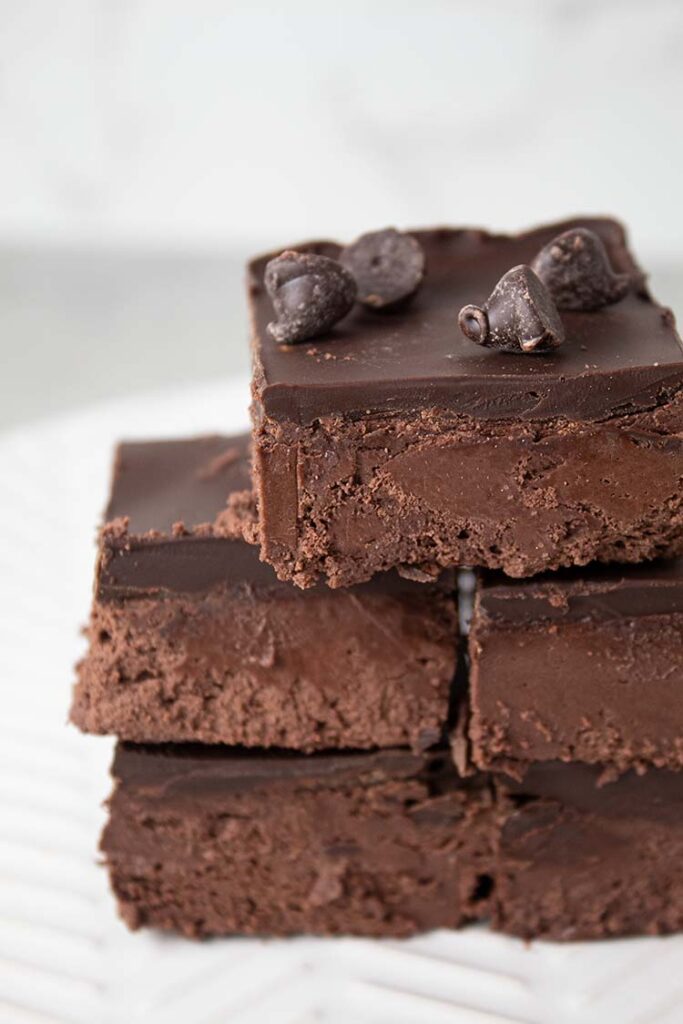
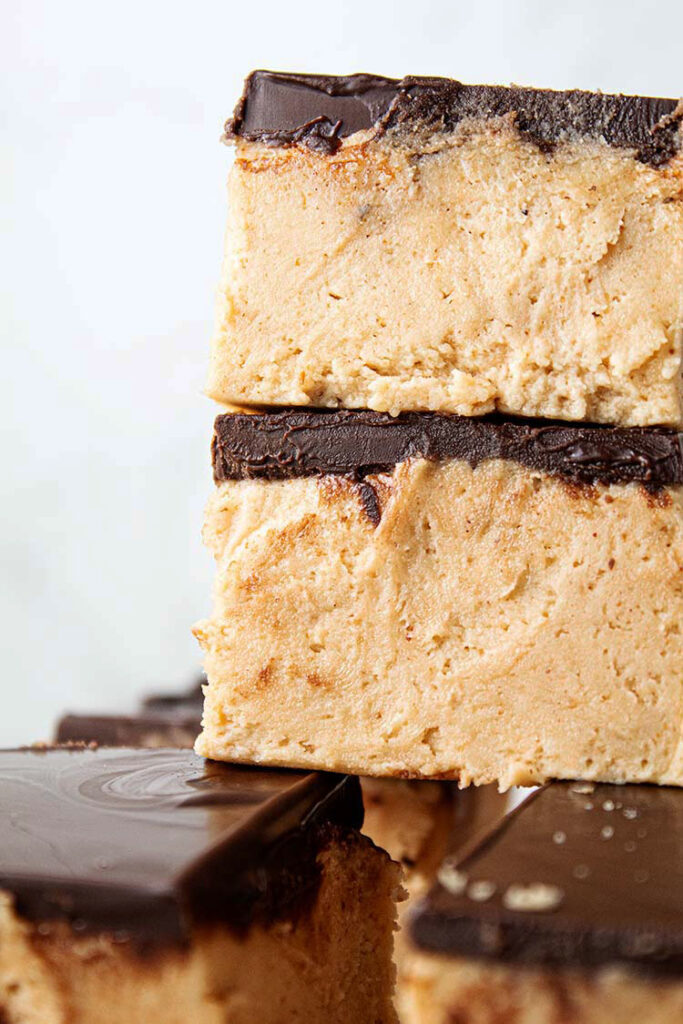
- Be the hero of your holiday party with Chocolate Heaven Dessert or Peanut Butter Heaven Dessert. Both are rich, creamy, and totally irresistible!


Enjoy!

How to Store Blueberry Cheesecake in the Refrigerator?
Store your blueberry cheesecake in the refrigerator by covering it tightly with plastic wrap or using an airtight container to keep it fresh and odor-free. Place it on a flat surface to prevent shifting or smudging the topping. When stored properly, it will stay delicious for up to 4-5 days!
How to Store Blueberry Cheesecake in the Freezer?
Wrap your blueberry cheesecake tightly in plastic wrap, then add a layer of aluminum foil for extra protection. For added safety, place it in a freezer-safe container to prevent freezer burn. Stored properly, it will stay fresh in the freezer for up to 1-2 months!
When is the Best Time to Serve Cheesecake?
Cheesecake recipes are great as centerpiece desserts that will typically steal the show at any event! They are great as Thanksgiving desserts, Christmas desserts, and Easter desserts.
During the warmer months, the no-bake dessert recipes are great as picnic food desserts, Memorial day desserts, and July 4th celebration desserts.
More Dessert Recipes
- Craving something sweet and sensational? This banana pudding is creamy, no-bake, and guaranteed to be the star of your dessert table! Your family will love it.
- Easy, creamy, and delicious, this no-bake peanut butter pie is a party-pleasing dessert that is fun for everyone!
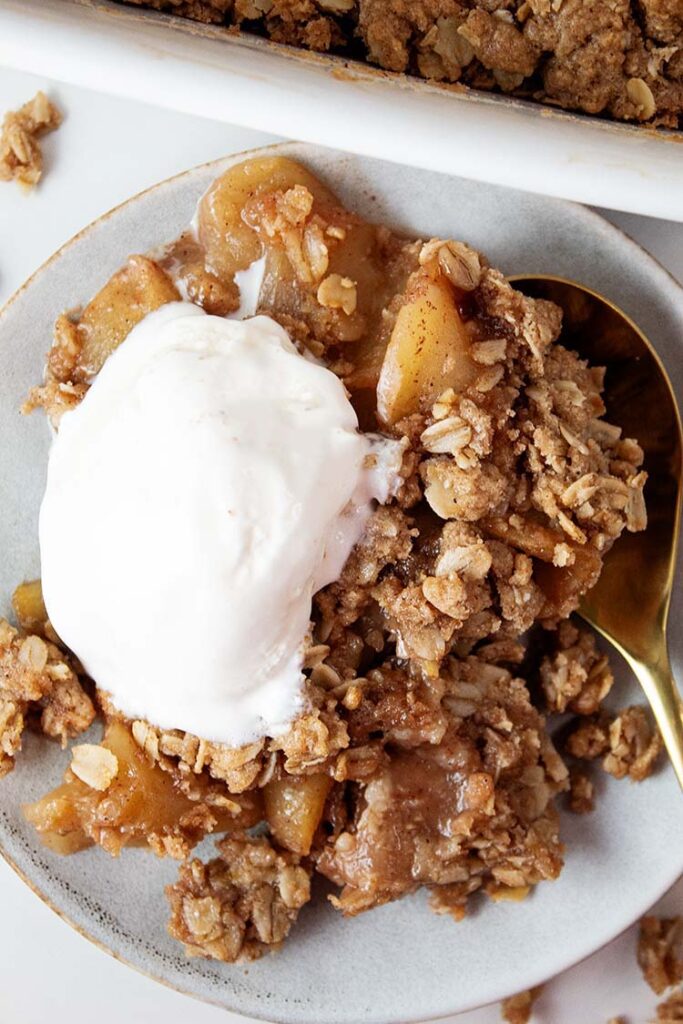
- Make your holiday table extra special with this spiced apple crisp with oats. Warm apple flavors and a crunchy oat topping make it an all-time favorite.
- Classic chocolate chip cookies are the most reliable cookies everyone can enjoy! They are fun as Christmas cookies and just as fun as a football game day food!
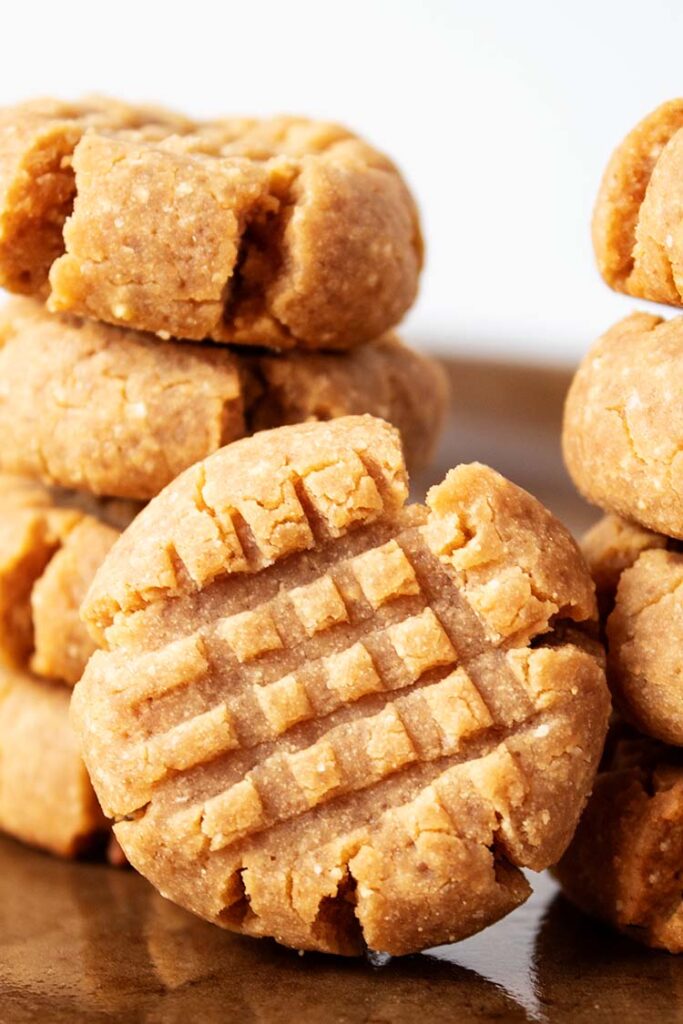
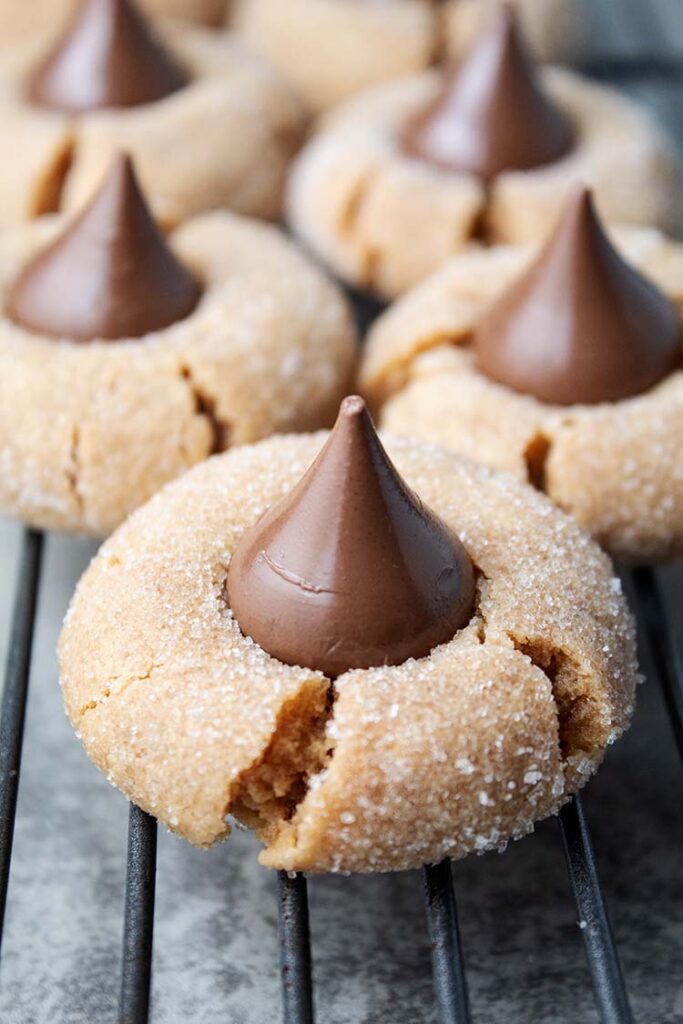
- Make these deliciously peanut buttery pb cookies for friends and family year-round. Or, change it up and enjoy peanut butter blossoms with a Kiss!


Love This Post? Please Give it a Share!
I hope you love this fabulous cheesecake dessert recipe! If you like this post, it would be greatly appreciated if you give it a share or save by using the social sharing icons. THANK YOU!
Blueberry Cheesecake

Ingredients
Filling Ingredients
- 24 oz cream cheese (room temperature)
- 1/2 cup sour cream (room temperature)
- 3/4 cup brown sugar
- 3/4 cup granulated sugar
- 1/4 tsp salt
- 2 tbsp lemon juice
- 1 tbsp vanilla extract
- 3 tbsp all-purpose flour
- 3 eggs (room temperature)
- 1 cup blueberries
Crust Ingredients
- Non-stick cooking spray
- 1 1/2 cups graham cracker crumbs (finely crushed)
- 1/4 cup granulated sugar
- 6 tbsp melted butter
Topping Ingredients
- 1 tbsp lemon juice
- 2 tbsp water
- 1/4 cup brown sugar
- 1 tbsp all-purpose flour
- 1 cup blueberries
Instructions
Crust Instructions
- Preheat oven to 350 F.
- Combine graham cracker crumbs and granulated sugar in a bowl. Then add melted butter and combine thoroughly.
- Spray the inside of a 9” springform cheesecake pan with non-stick cooking spray, then add the graham cracker mixture to the bottom and spread evenly.
- Wrap the sides of the pan (just up to the top edge) with a layer of heavy-duty foil and bake for 10 minutes.
- Remove the crust from the oven and immediately fill an oven-safe roasting pan/pot with about 1.5” of hot water and place it into the oven on the bottom rack. You will leave this pan in the oven through the rest of the cheesecake process (this is a replacement for a water bath; see notes).
- Reduce the oven temperature to 325 F.
Filling Instructions
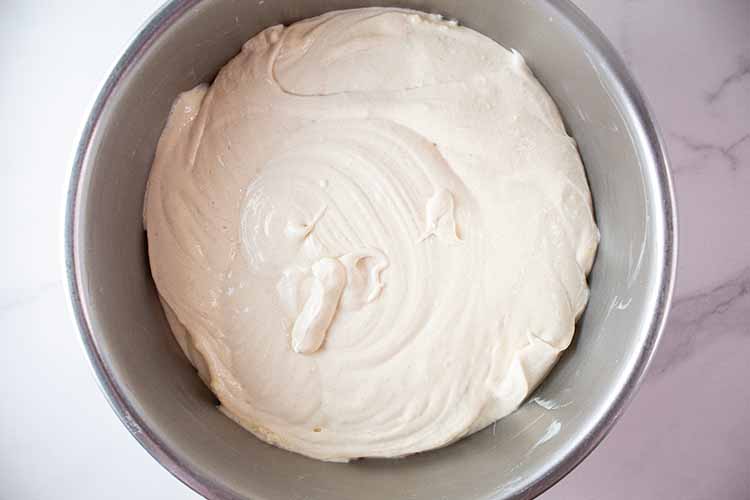
- To a mixing bowl, add cream cheese, sour cream, brown sugar, granulated sugar, and salt. Using a hand or stand mixer, mix on low and combine thoroughly. (Be careful not to overmix – it needs to remain dense for proper baking and final texture.)
- Scrape down the sides, then add lemon juice, vanilla extract, flour, and one egg. Mix on low to combine, scrape down the sides again, then add the second egg, mix, and scrape down the sides. Repeat the process with the final egg, then fold in the blueberries.
- After the crust has cooled to room temperature, pour the cheesecake mixture into the springform pan and level it off with a spatula.
- Place the cheesecake onto the middle rack of the oven, directly above the pan with water, and bake at 325 F for 60 minutes.
- After 60 minutes, turn the oven off, prop the oven door open with a wooden spoon, and keep cheesecake in the oven for an additional 60 minutes.
- After 60 minutes, remove the cheesecake and allow it to cool to room temperature.
- After the cheesecake has cooled, refrigerate it for at least six hours (preferably overnight).
- At least 30 minutes before serving, follow the Topping Instructions to create the blueberry sauce.
- When ready to serve, use a hot knife to cleanly cut slices.
- Serve, topped with sauce. Enjoy!
Topping Instructions
- In a small saucepan over low heat, combine water, lemon juice, and blueberries. Cook for several minutes until the blueberries start to soften.
- Add brown sugar and flour, then mix thoroughly.
- Turn the heat up and simmer until the mixture has reached your desired thickness (it will thicken a bit more as it cools).
Notes
- I go with a steam pan instead of a water bath. It’s just a bit easier in my opinion, and I haven’t seen any difference in the results. But if you like using a steam bath, feel free!
Nutrition Estimates (Per Serving)
Nutrition Disclaimer
Nutrition Estimates are per serving and included as a courtesy only. They are accurate to the best of our knowledge based on the ingredients and brands used, but their accuracy is not guaranteed.